How I built my 100 litre bioactive terrarium to house my crested gecko.
I wanted to make sure that Cuthbert had a good ol’ time while in my care. I decided that the best way to do this was build him a bioactive terrarium. This meant that the terrarium would have a level of self-cleaning and self-sustaining through the use of small invertebrates like springtails and isopods to decompose waste. I also wanted to try my hand at live terrarium plants after having successfully built a planted aquarium .
As a result, this project got kicked into high gear. It took me about two months to get things in a good state for planting.
Supplies
- Egg crate & zip ties
- Carbon fibre mesh
- Silicone
- Great Stuff gaps and cracks spray foam
- Coco fibre
- Black aquarium gravel
- One sacrificial 10 gallon tank
- One large Reptile Edge acrylic terrarium
- Soil mixture
- Zoo Med ReptiSun LED (18" to 26") terrarium hood
- Temperature and humidity sensors
- Mist King starter system
- Bugs
- Plants
- One crested gecko
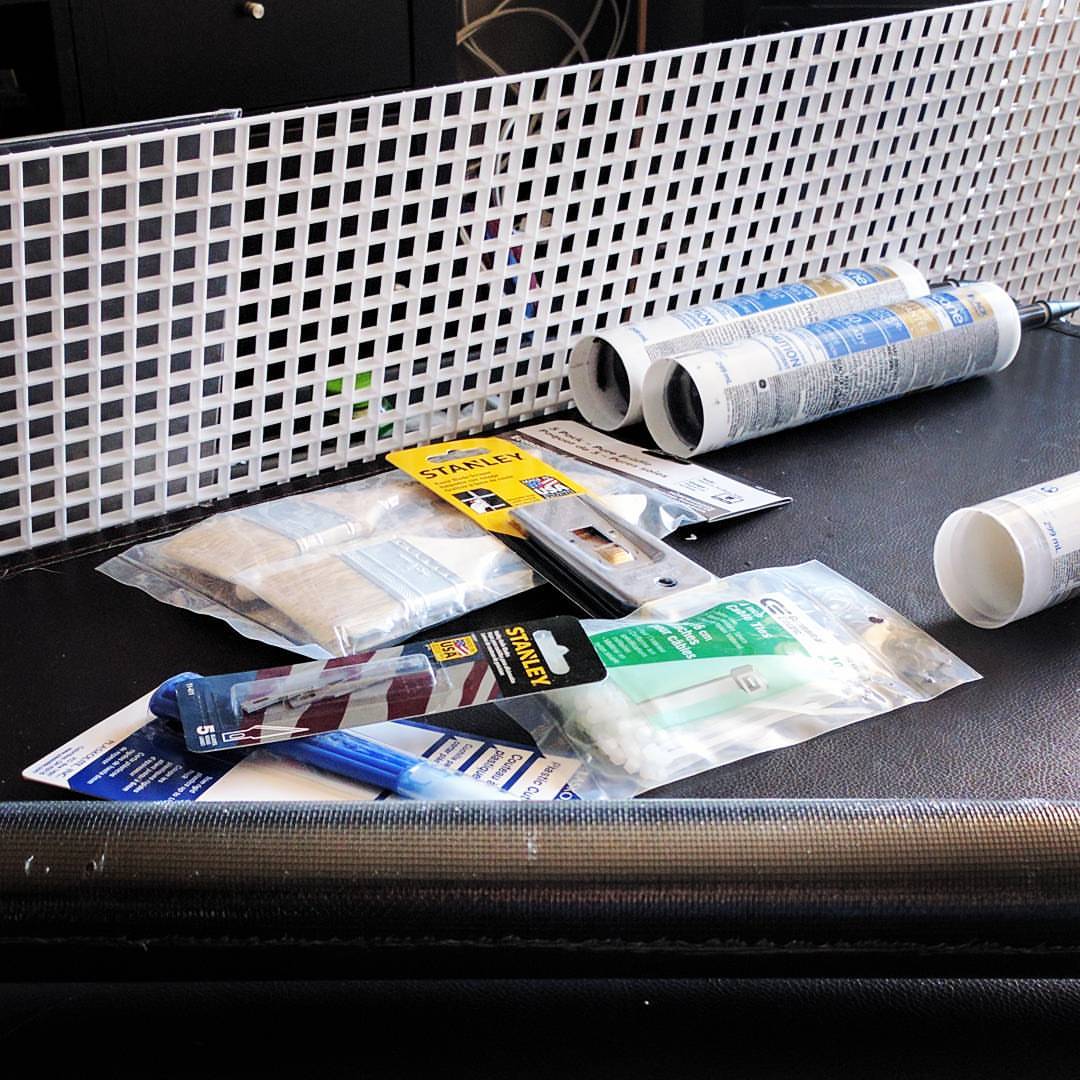
After a visit to Home Depot.
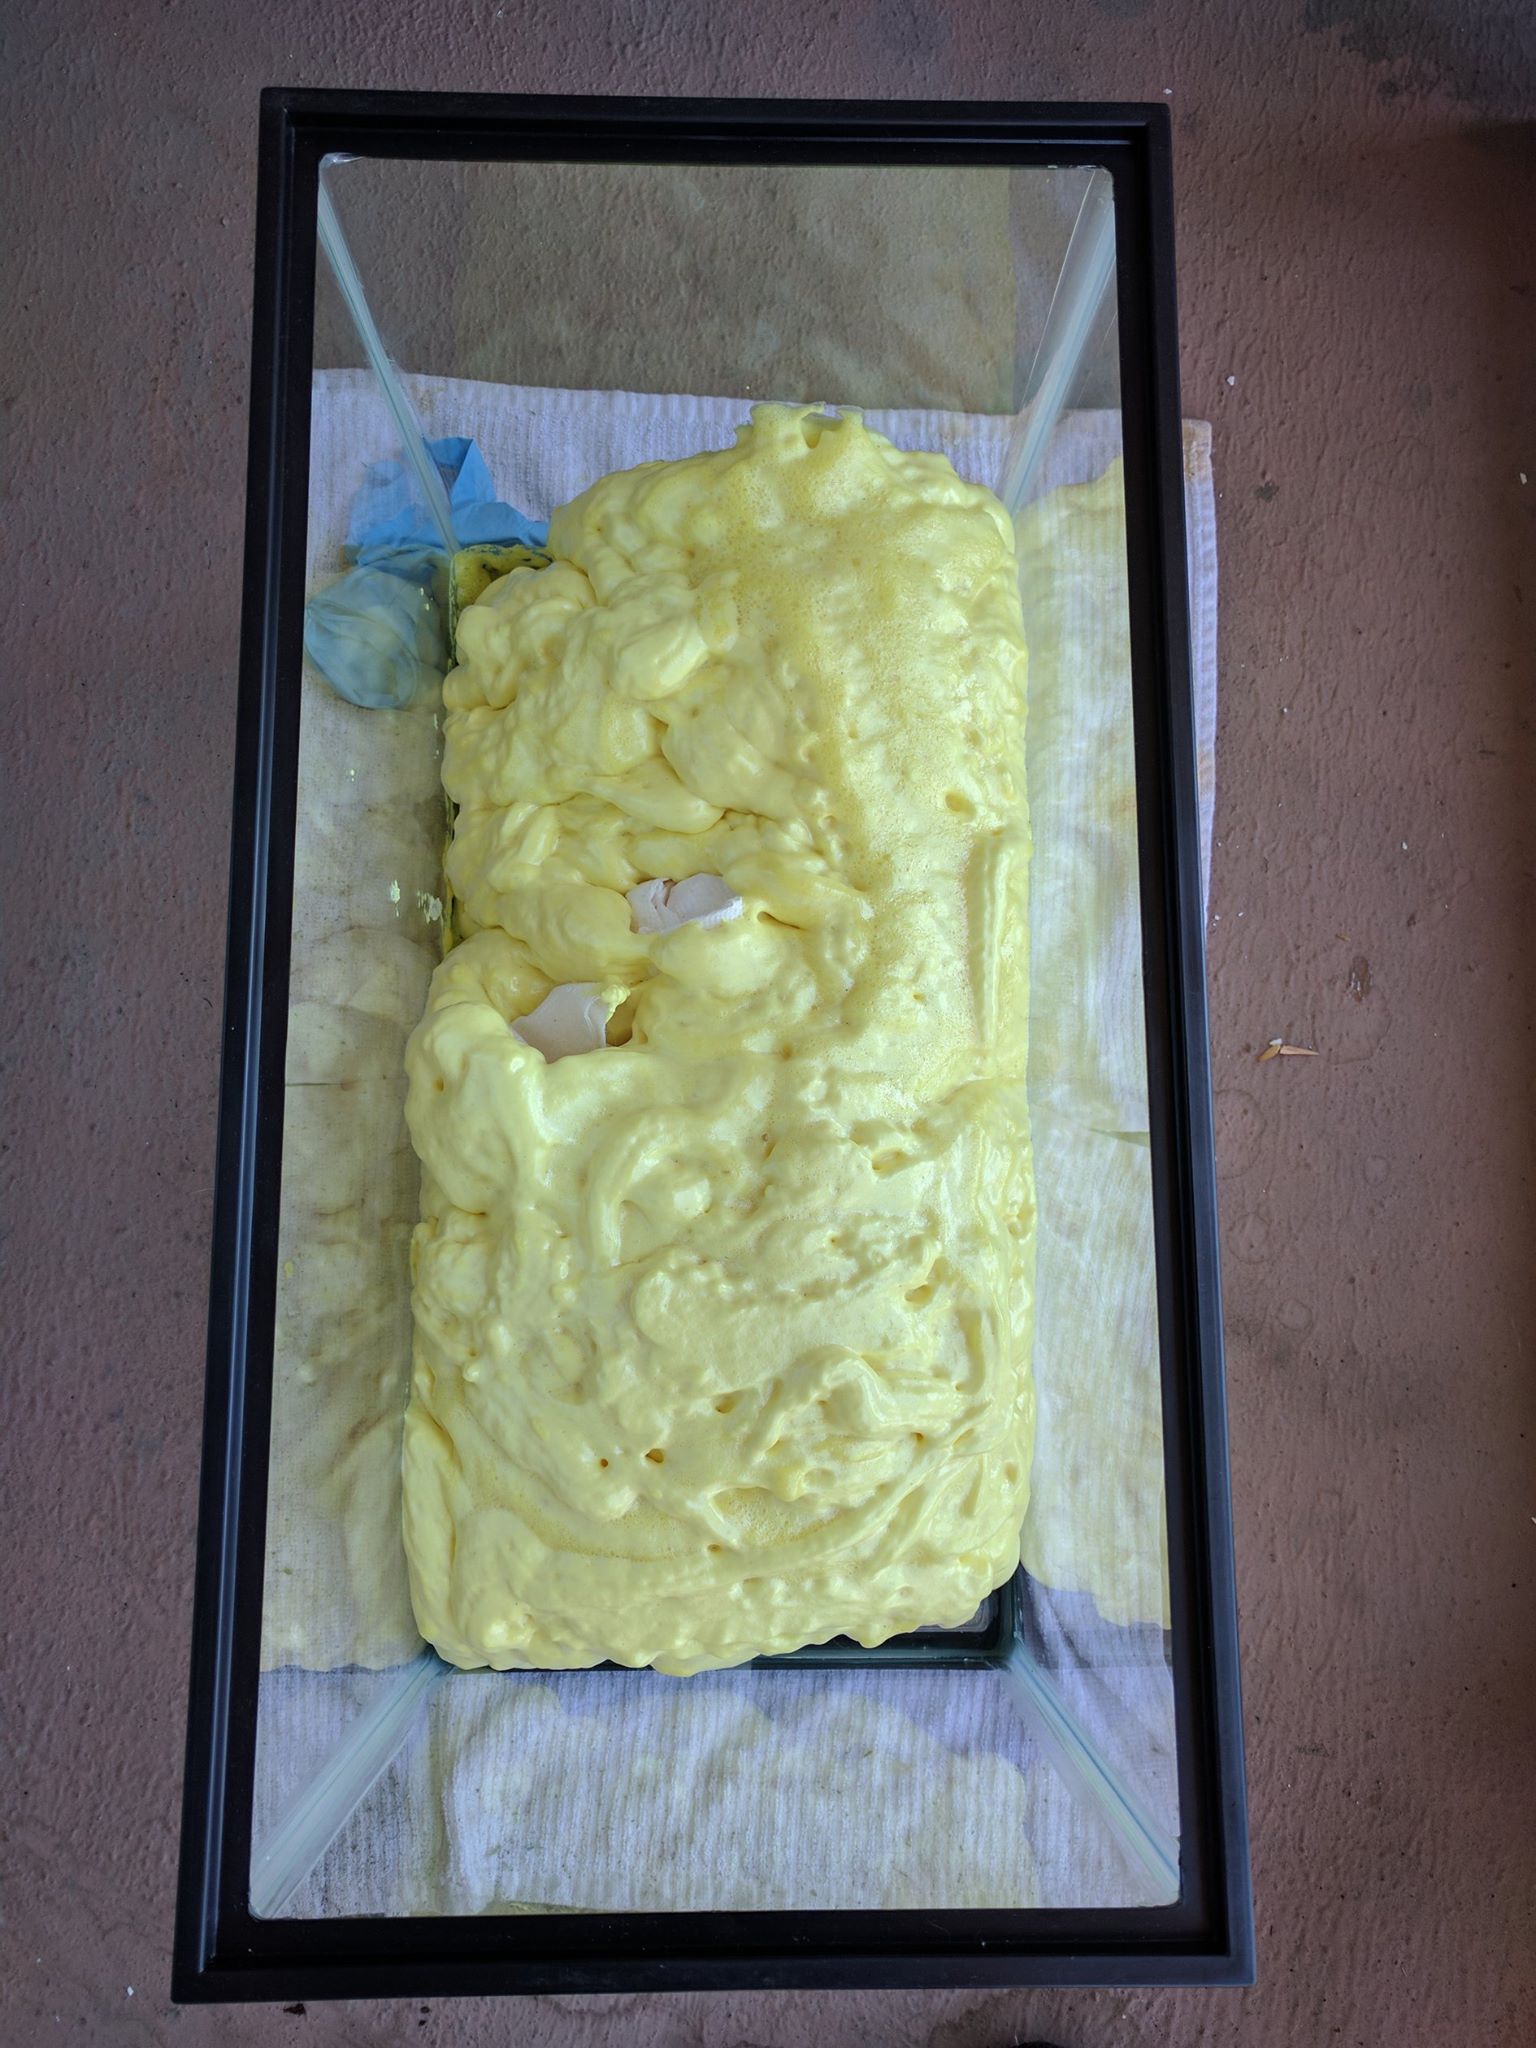
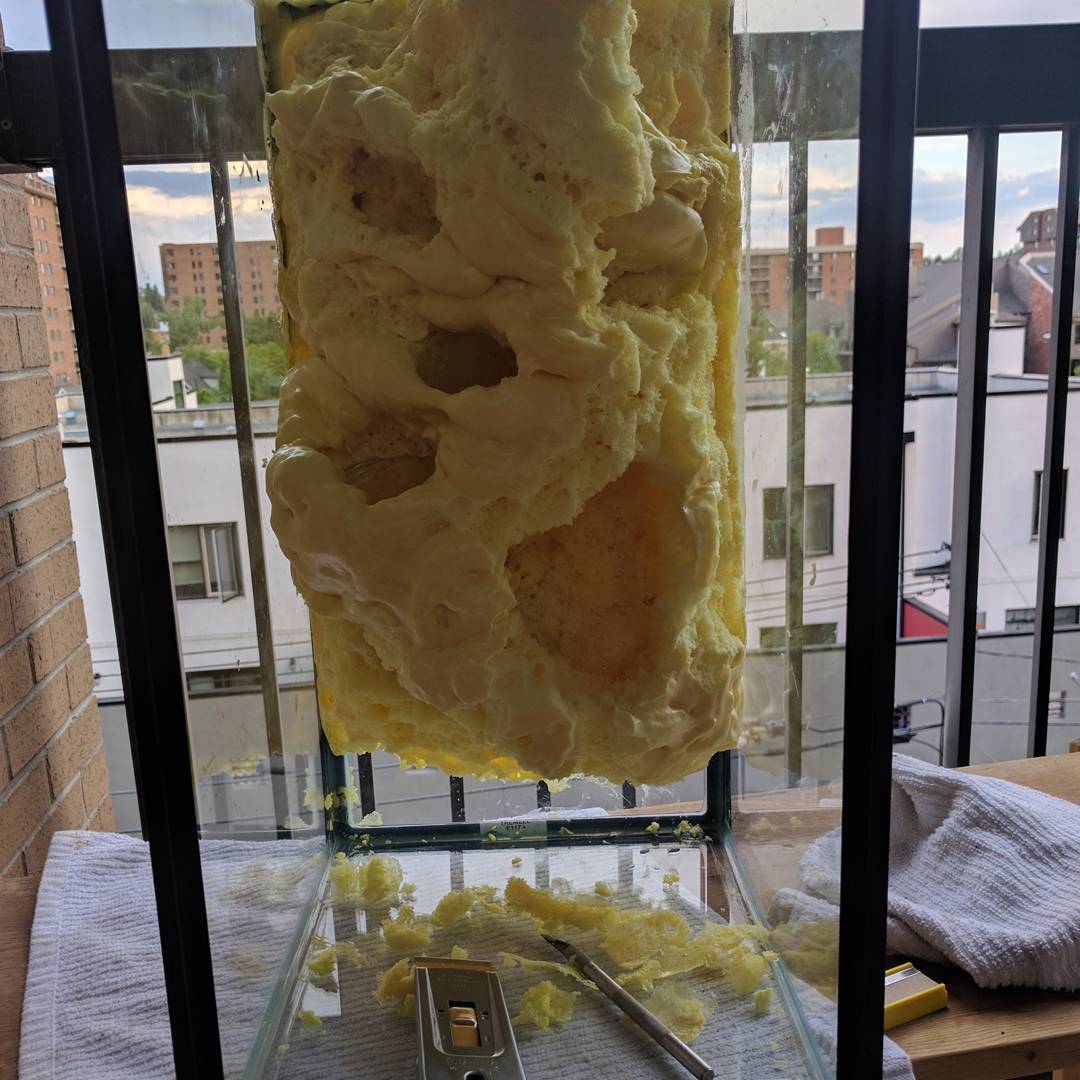
Constructing the Background
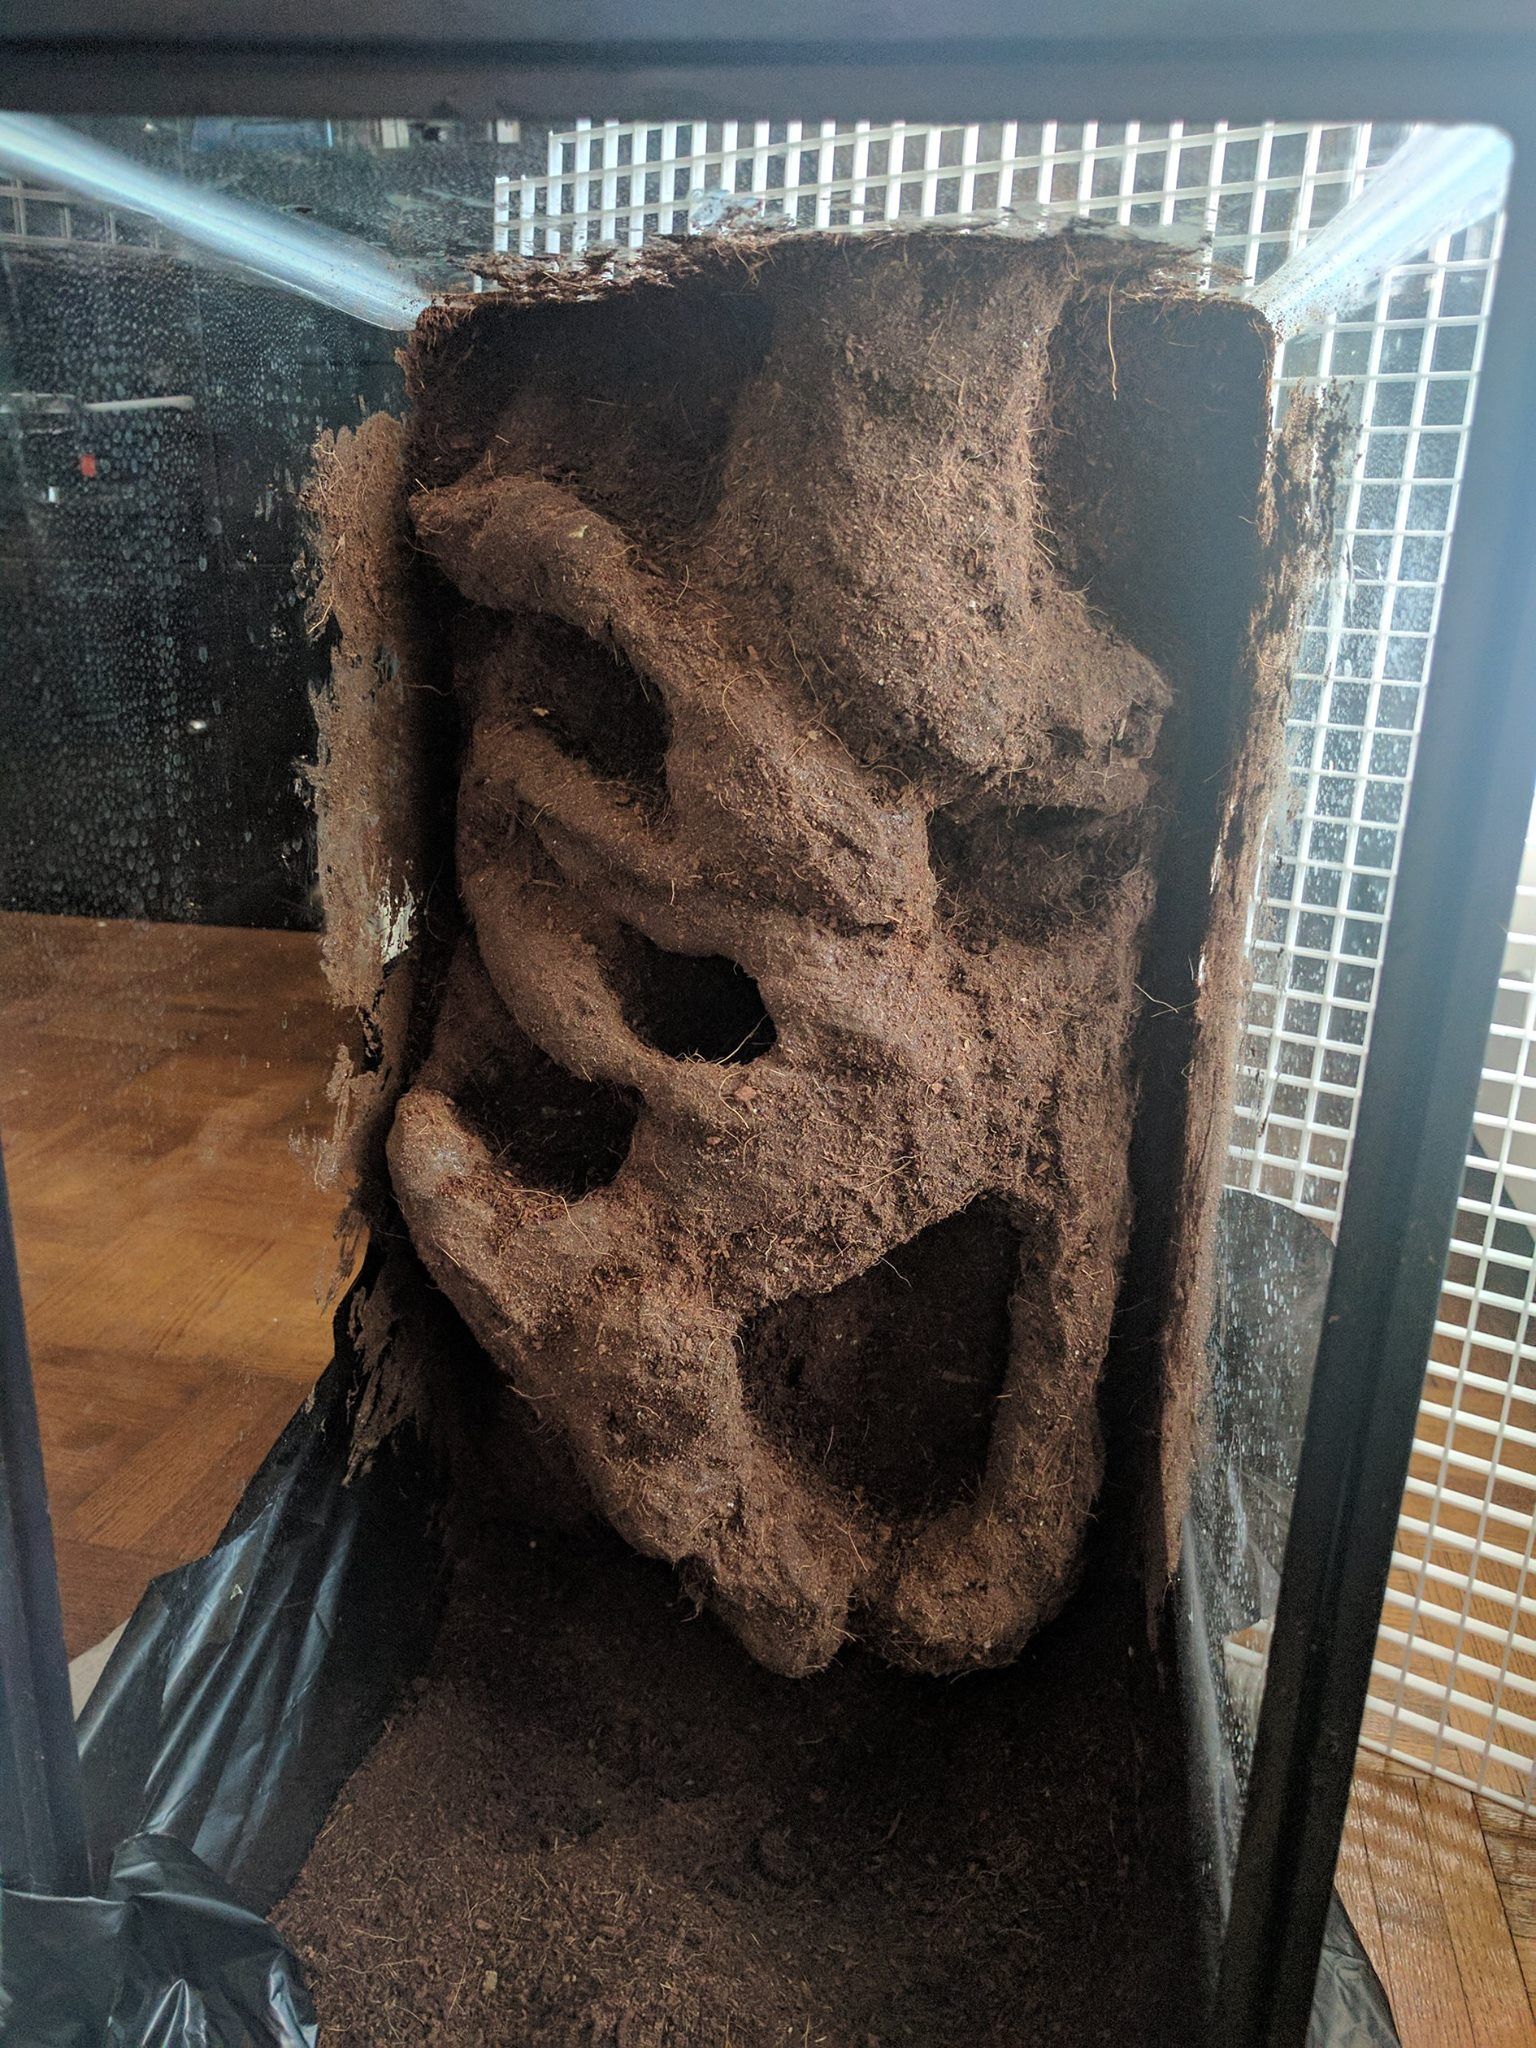
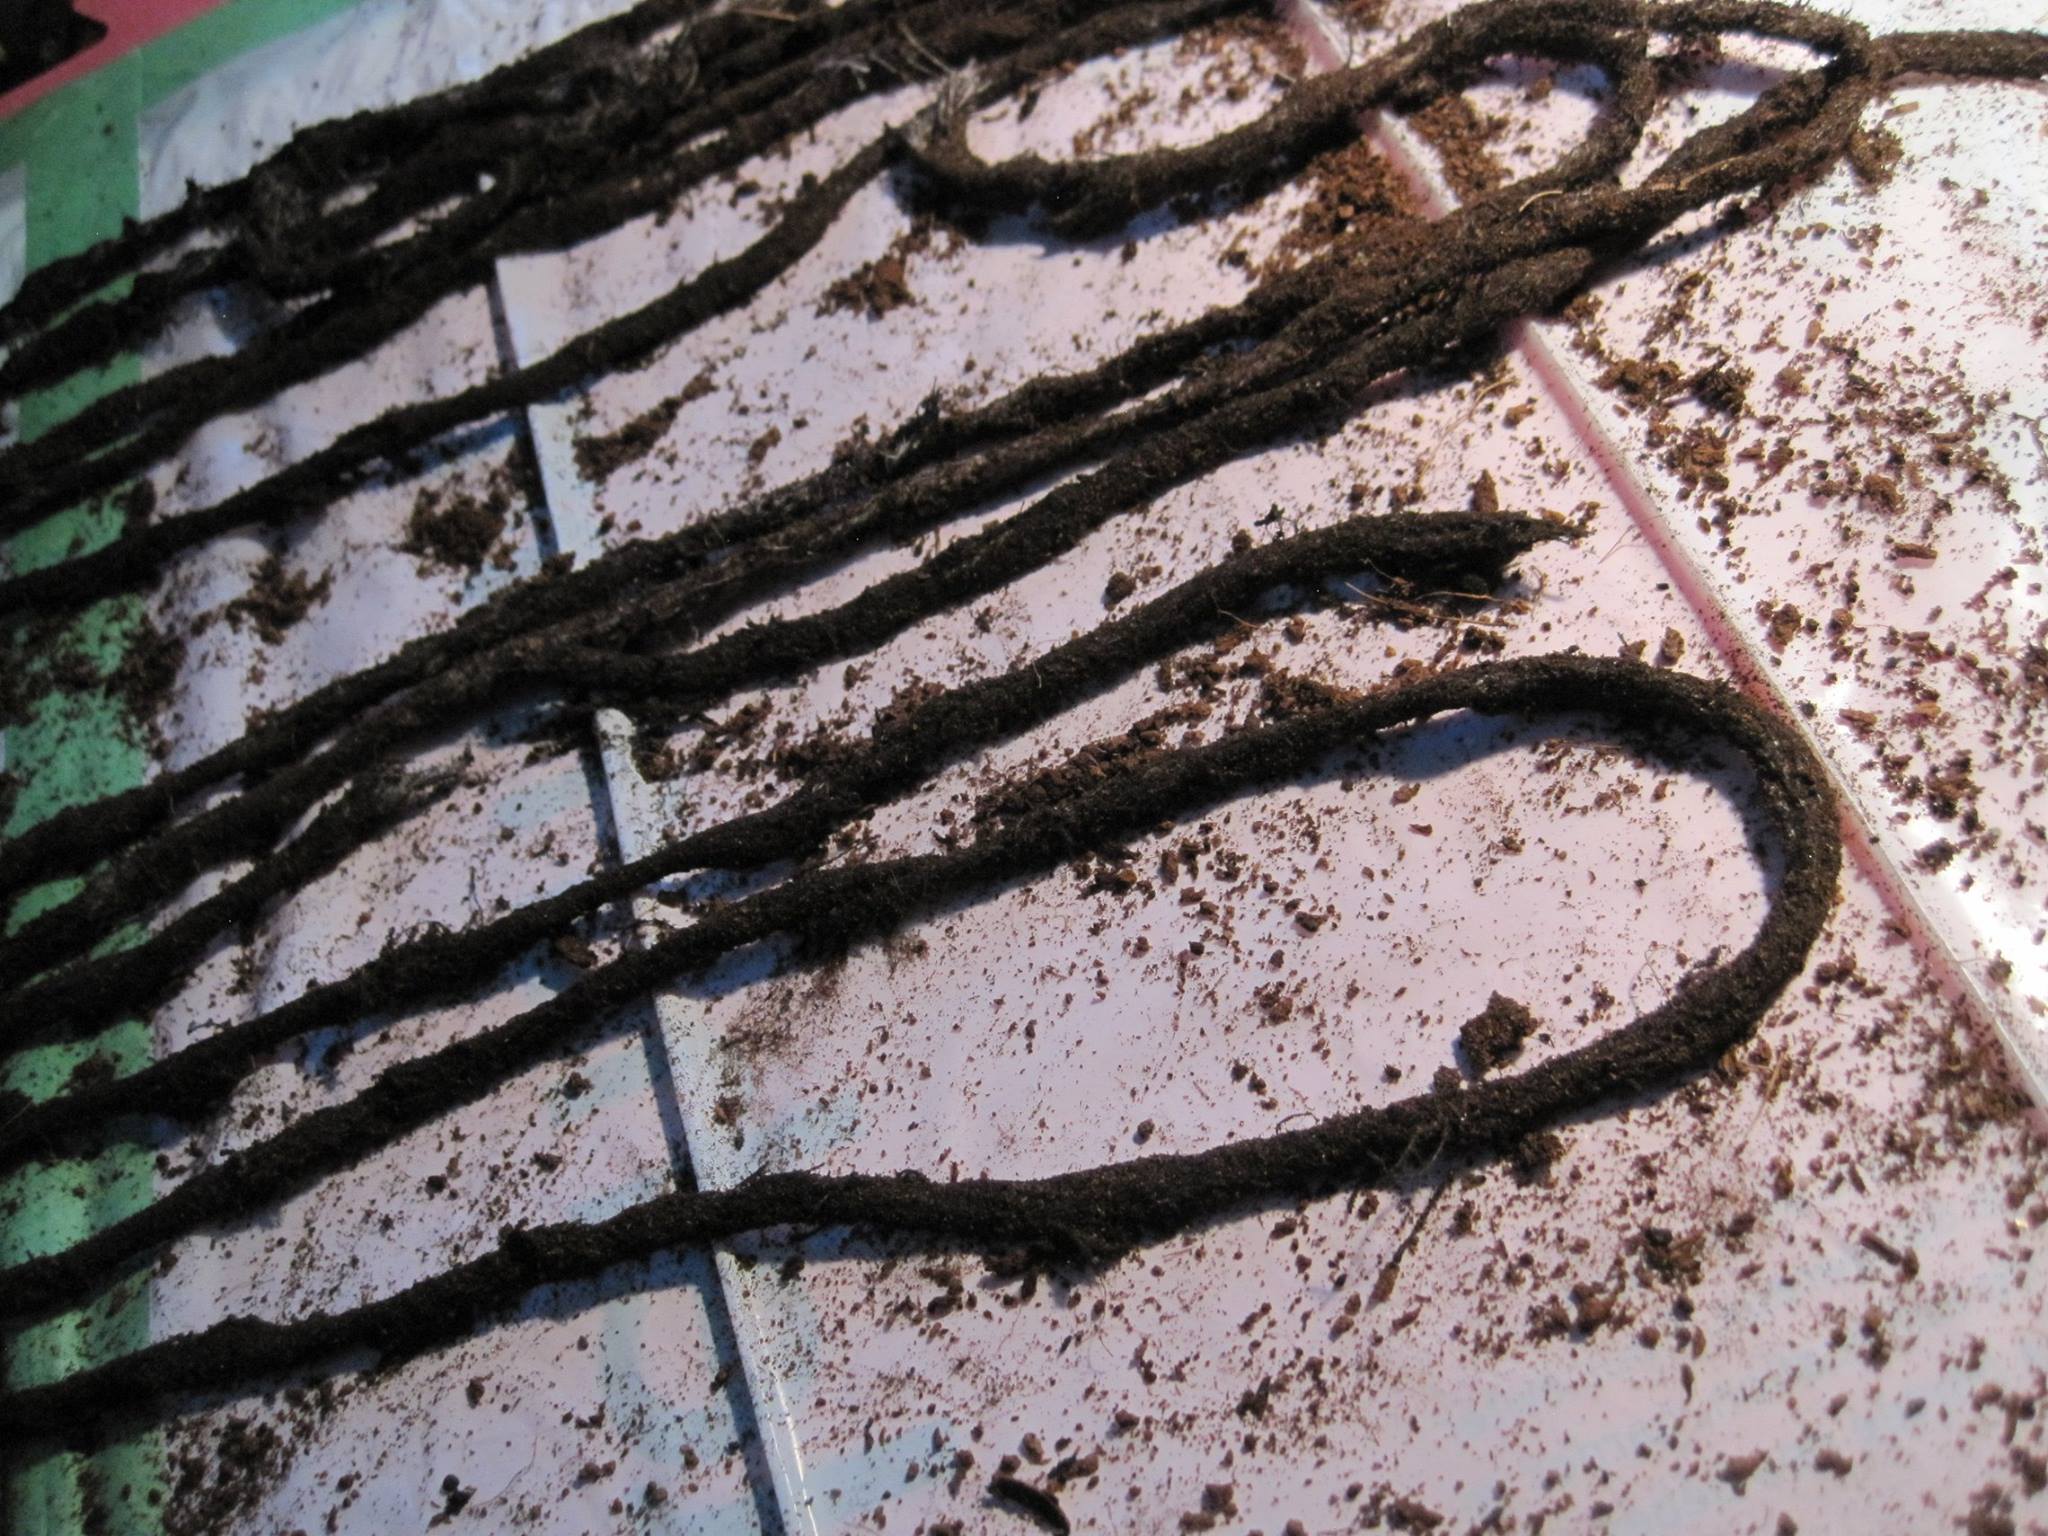
I built the background out of Great Stuff Gaps and Cracks foam over an egg crate armature. I carved the foam into the shape I wanted. I then covered the foam in silicon and applied a layer of coco fibre. I made a few “jungle vines” by rolling some cotton with silicone and covering them with coco fibre.
Terrarium Size Upgrade
After working on the terrarium for this long, I wasn’t happy with the dimensions. Originally I’d been working with a 45 litre (10 gallons) tank, but it seemed too small for what will eventually be my crested gecko’s permanent home.
I ended up getting a large acrylic terrarium from Reptile Edge . Cuthbert went from having a little tank, to a happy 100 litres (26.49 gallons). The final dimensions I ended up working with were 38.1 x 43.18 x 60.96 cm (15 x 17 x 24 inches).
This meant that I had to remove the background I’d created from the old 10 gallon and move it into the new tank. That was an effort.
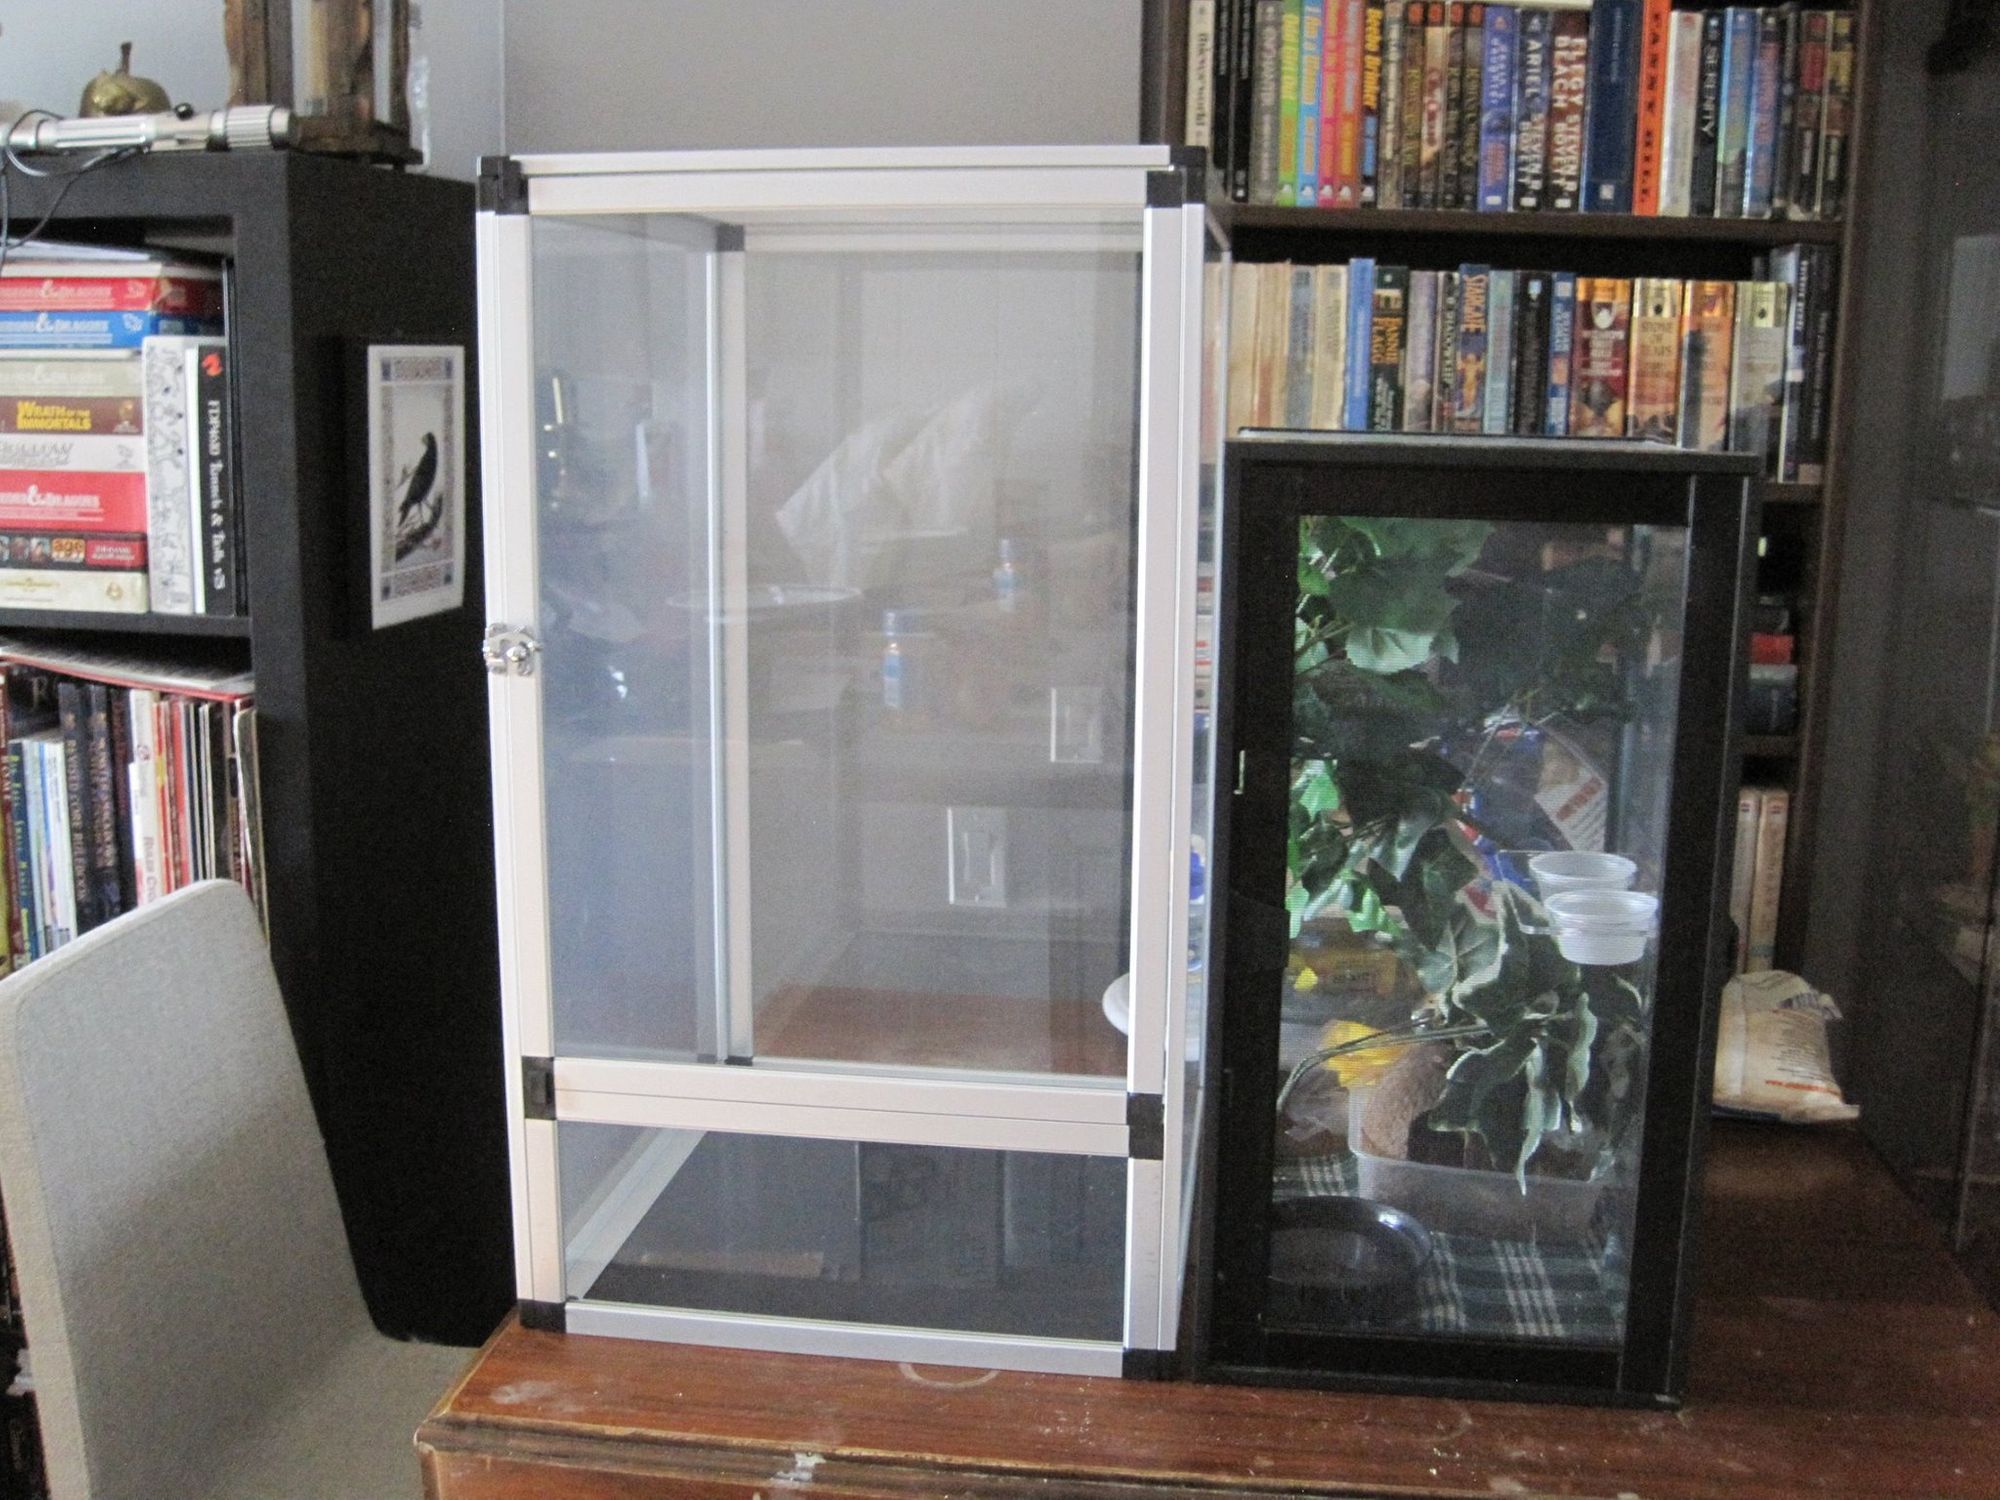
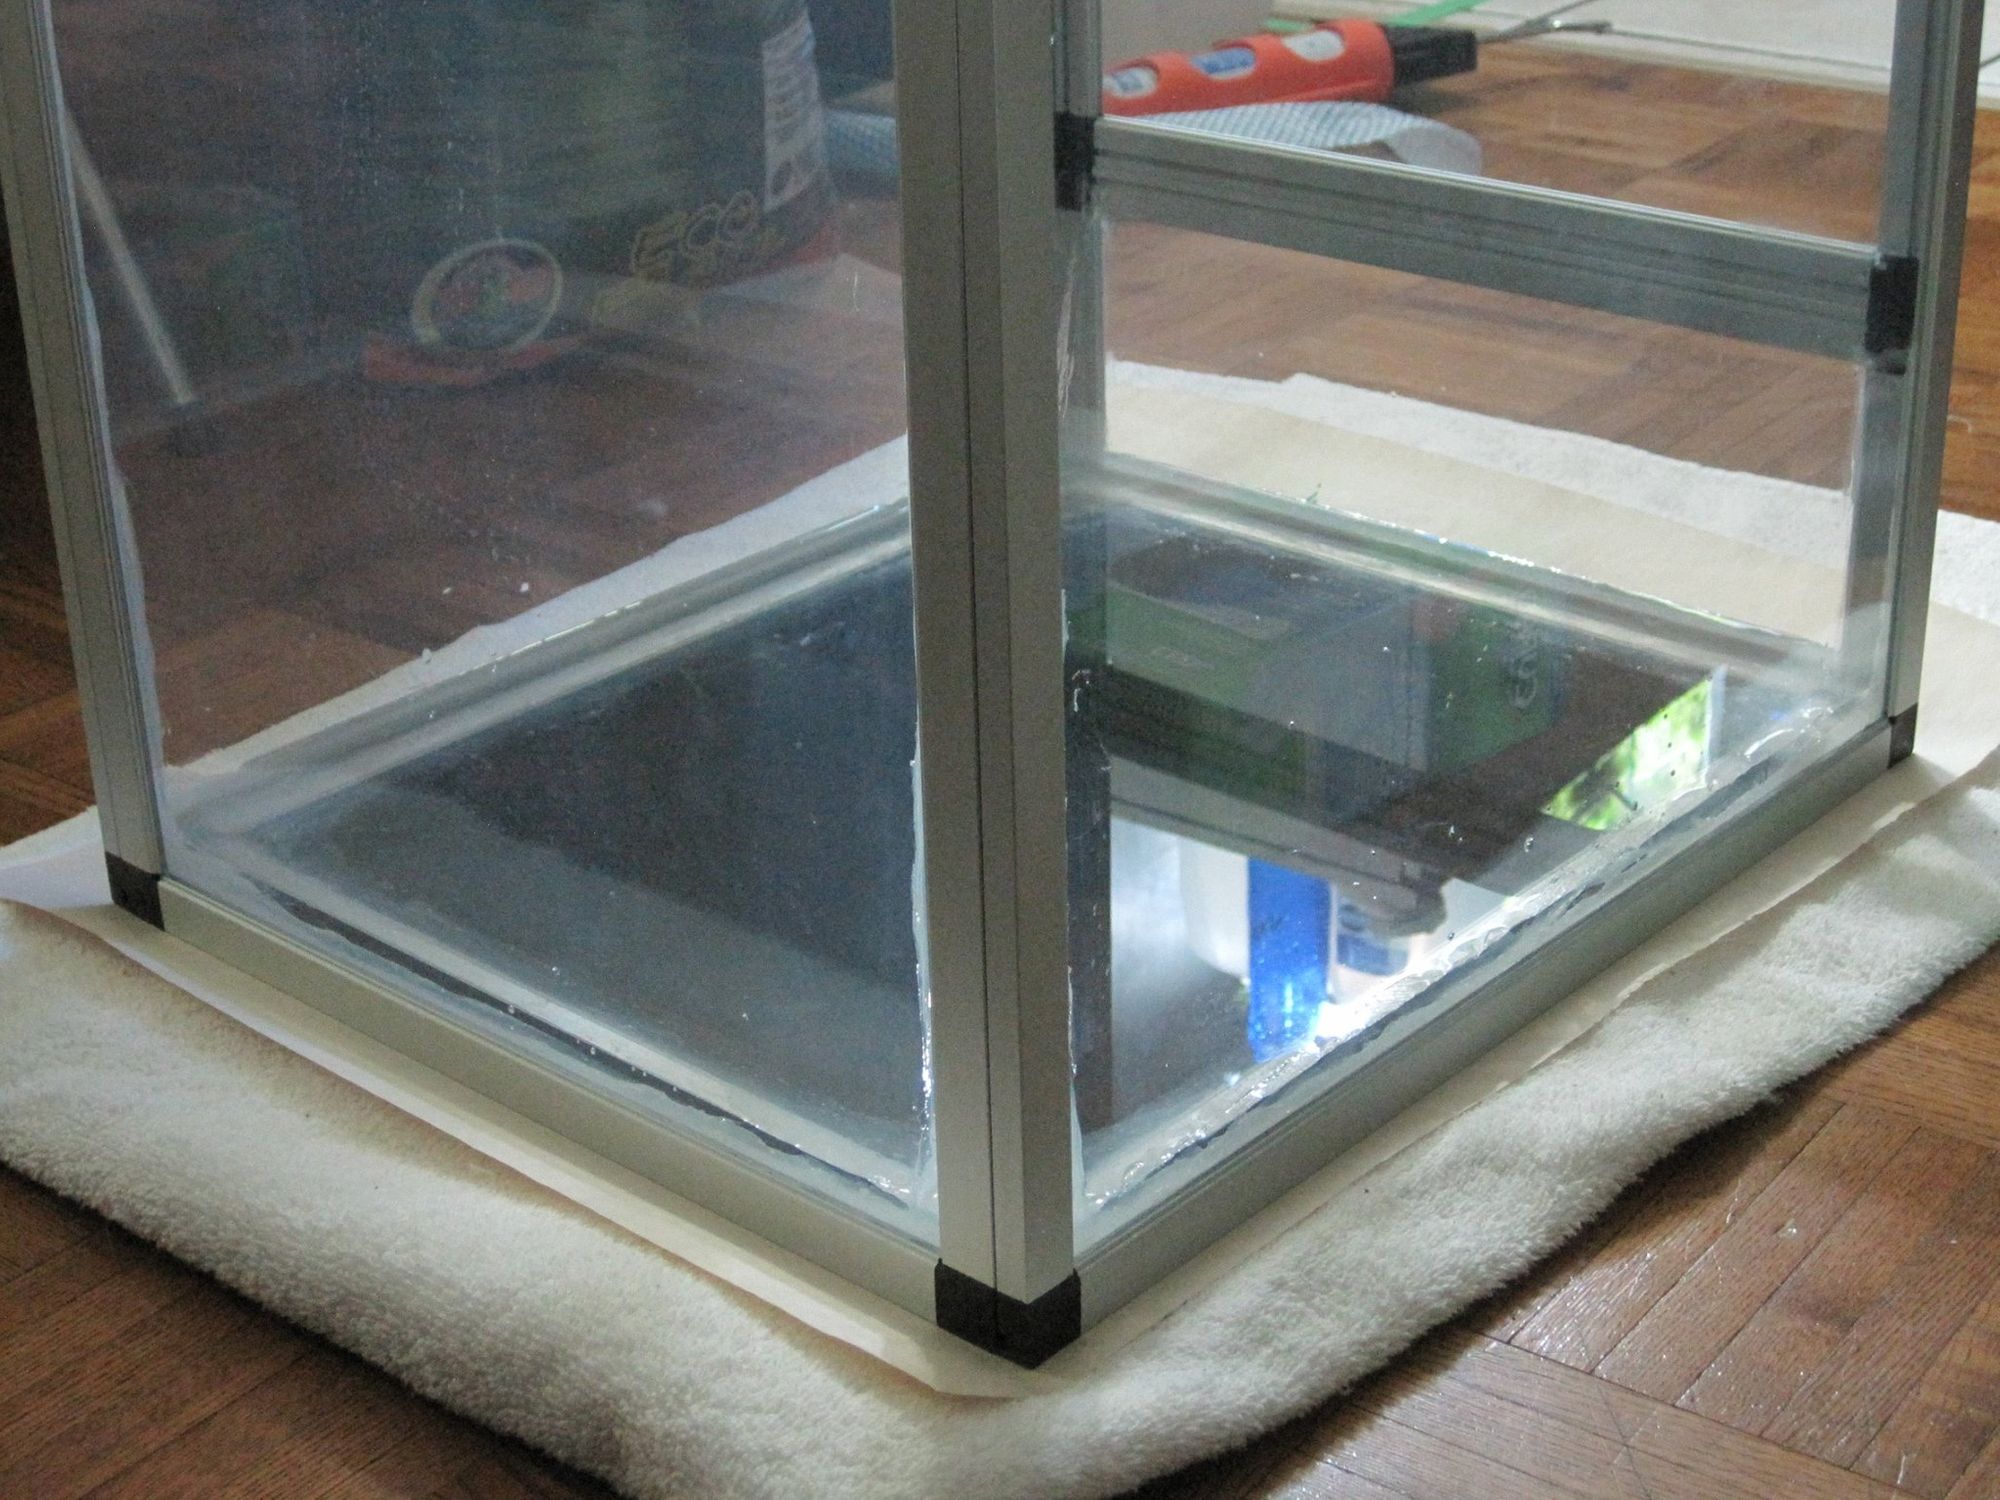
Left: Large Reptile Edge terrarium. Right: A standard 10 gallon.
Leak-Proofing and the False Bottom
The first thing I did was apply silicone to the bottom and sides of the terrarium to seal up any potential leaks. I tested by placing a towel on the floor, putting a piece of newsprint on top, then partially filling the terrarium with water. I’d then come back after an hour, lift the terrarium, and see if the newsprint had warped in any spots.
Once I was happy that there were no leaks, I added a small heater to the bottom of my terrarium. This isn’t necessary, but due to how my home can get cold (Canada), I wanted to ensure that there would always be heat rising.
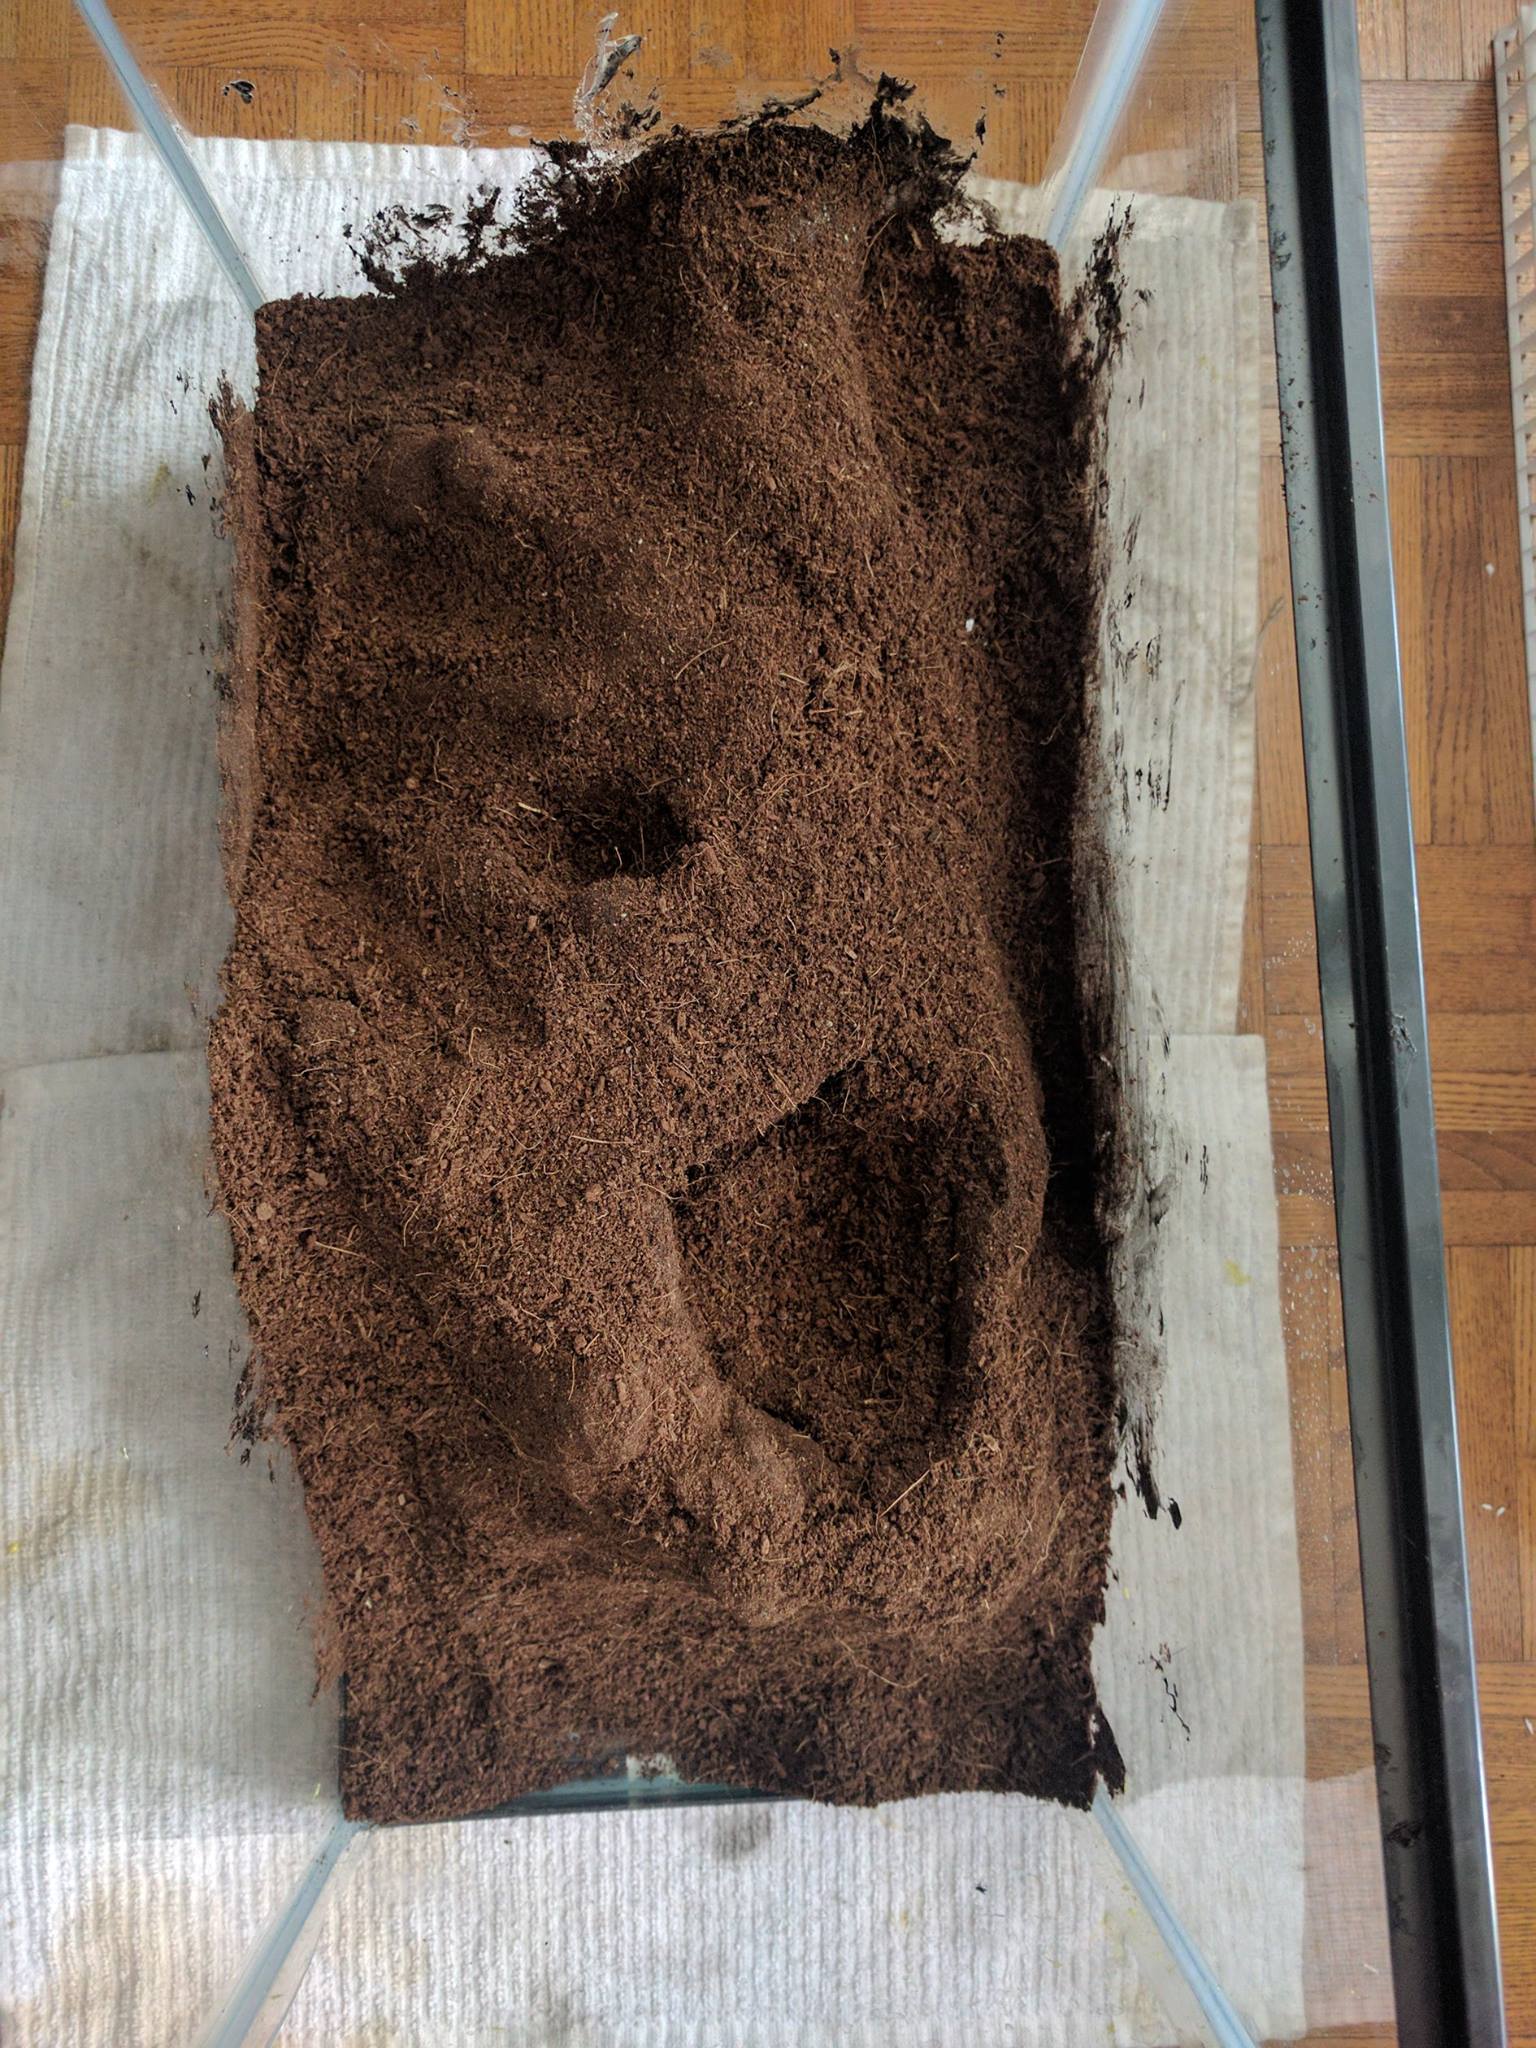
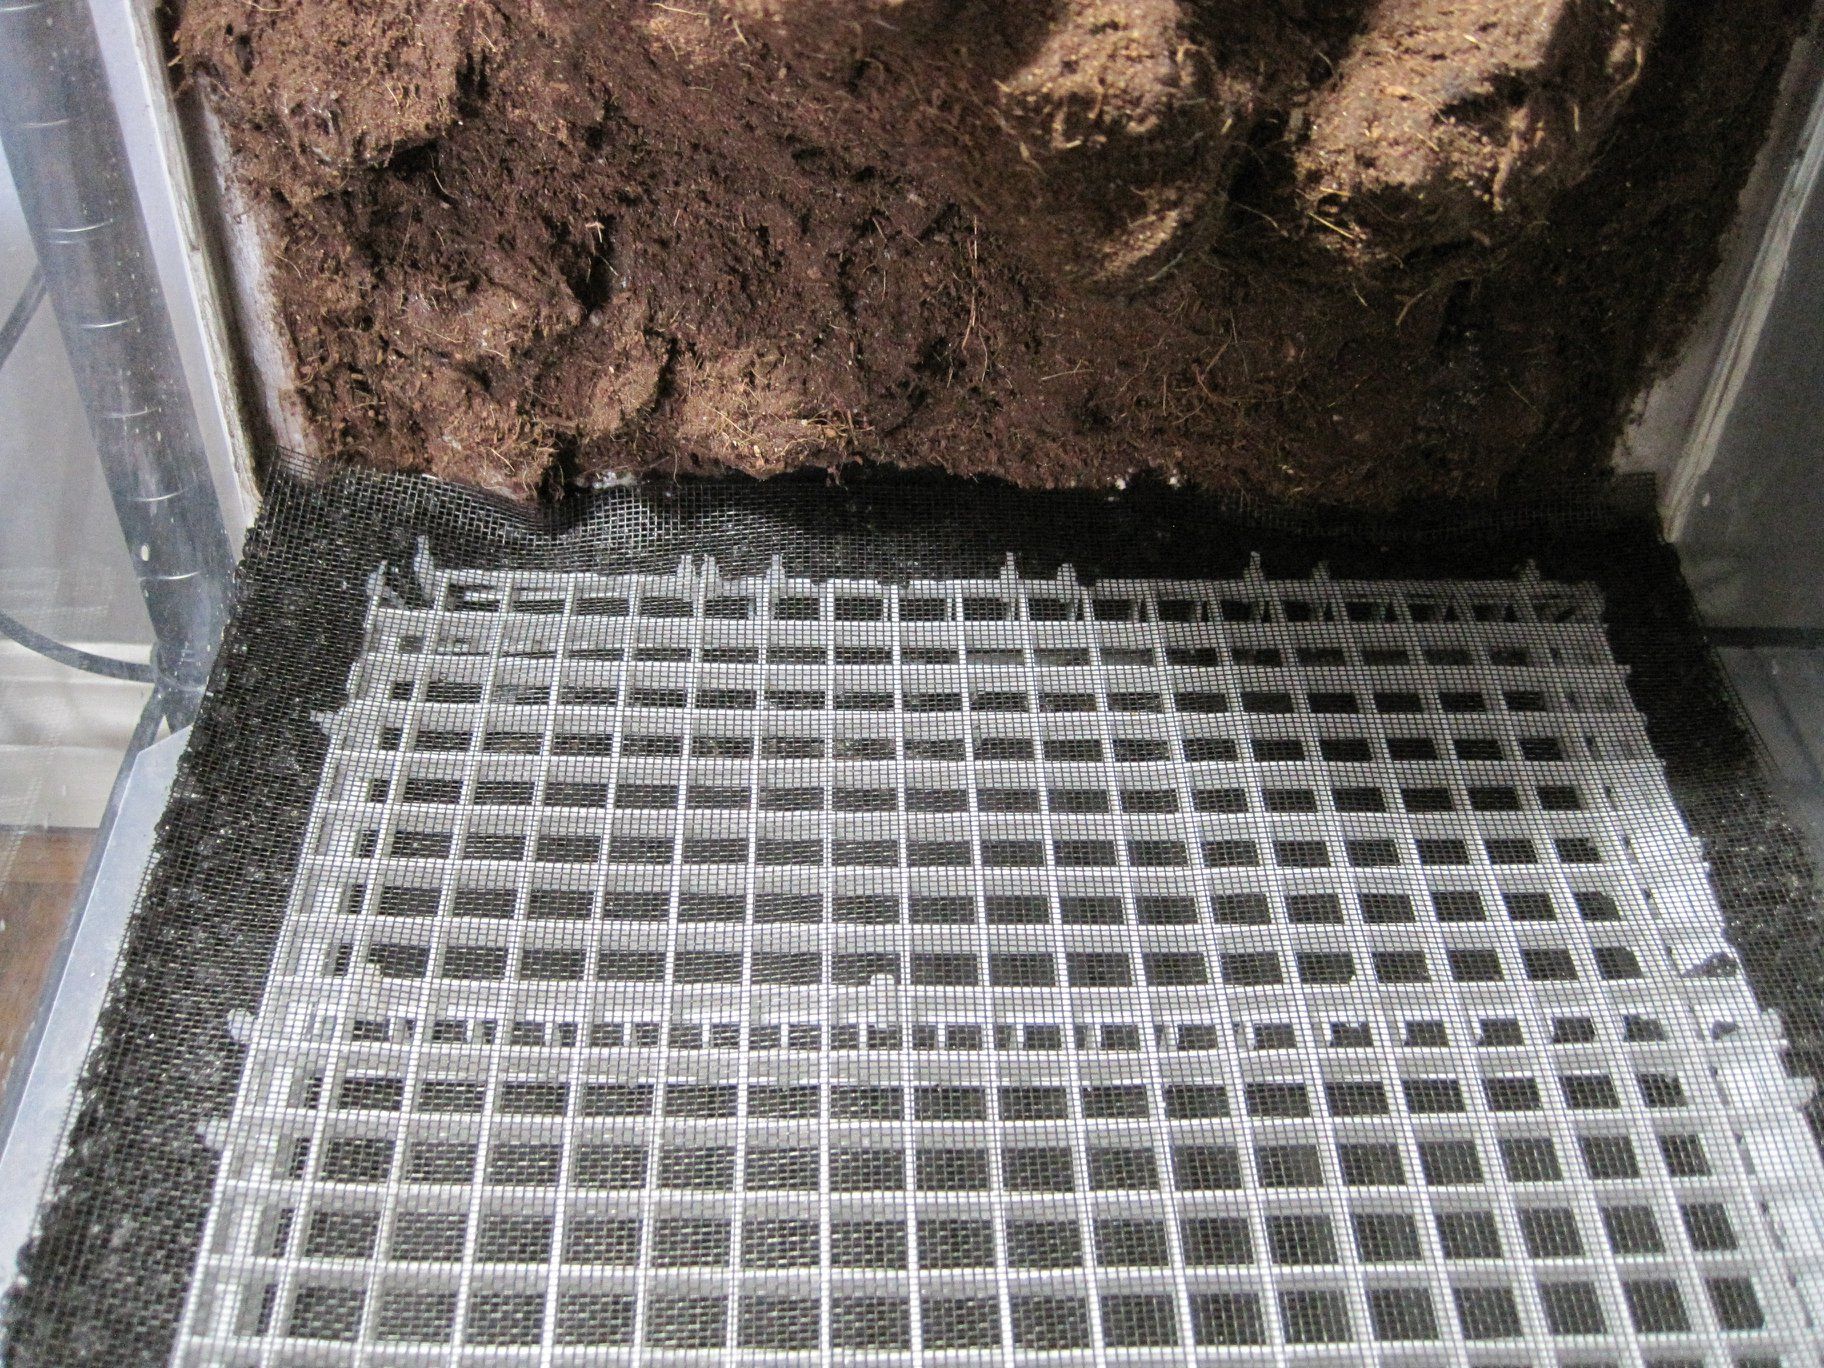
My terrarium needed a drainage layer for water to collect. To do this, I measured out some egg crate and cut it to fit. I fastened the egg crate with some plastic zip ties. I left around a 5 cm gap around the edges so that I would be able to easily hide the egg crate with some gravel.
I attached a pill bottle with the bottom hacked off so that I could easily siphon out water should I ever accidentally over-water.
I filled in the areas surrounding the false bottom with black aquarium gravel, both to hold the bottom in place, and to hide it. I covered the entire thing with a layer of carbon fibre mesh to keep dirt from falling into the water reservoir.

Electronics
LED Lighting
I wired up a Zoo Med ReptiSun LED (18" to 26") terrarium hood. I attached it to my rack system so that there will never be any danger of it falling.
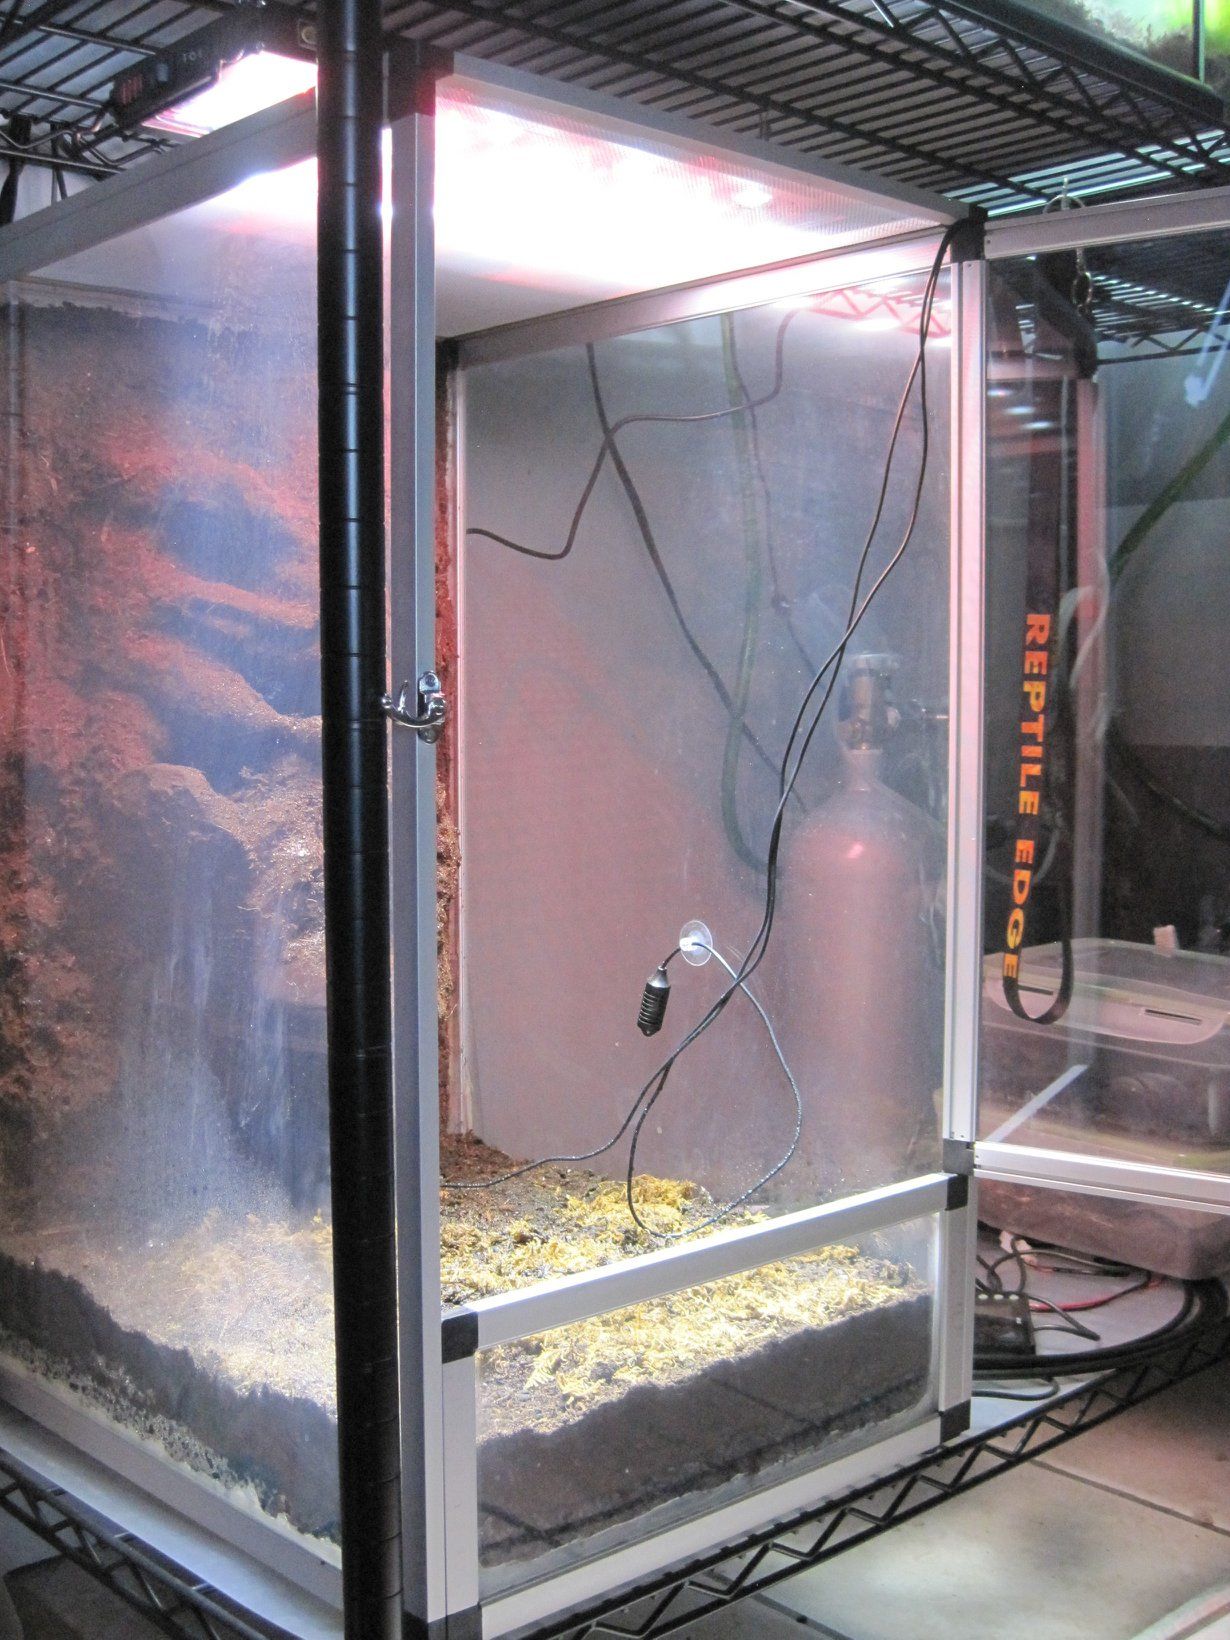
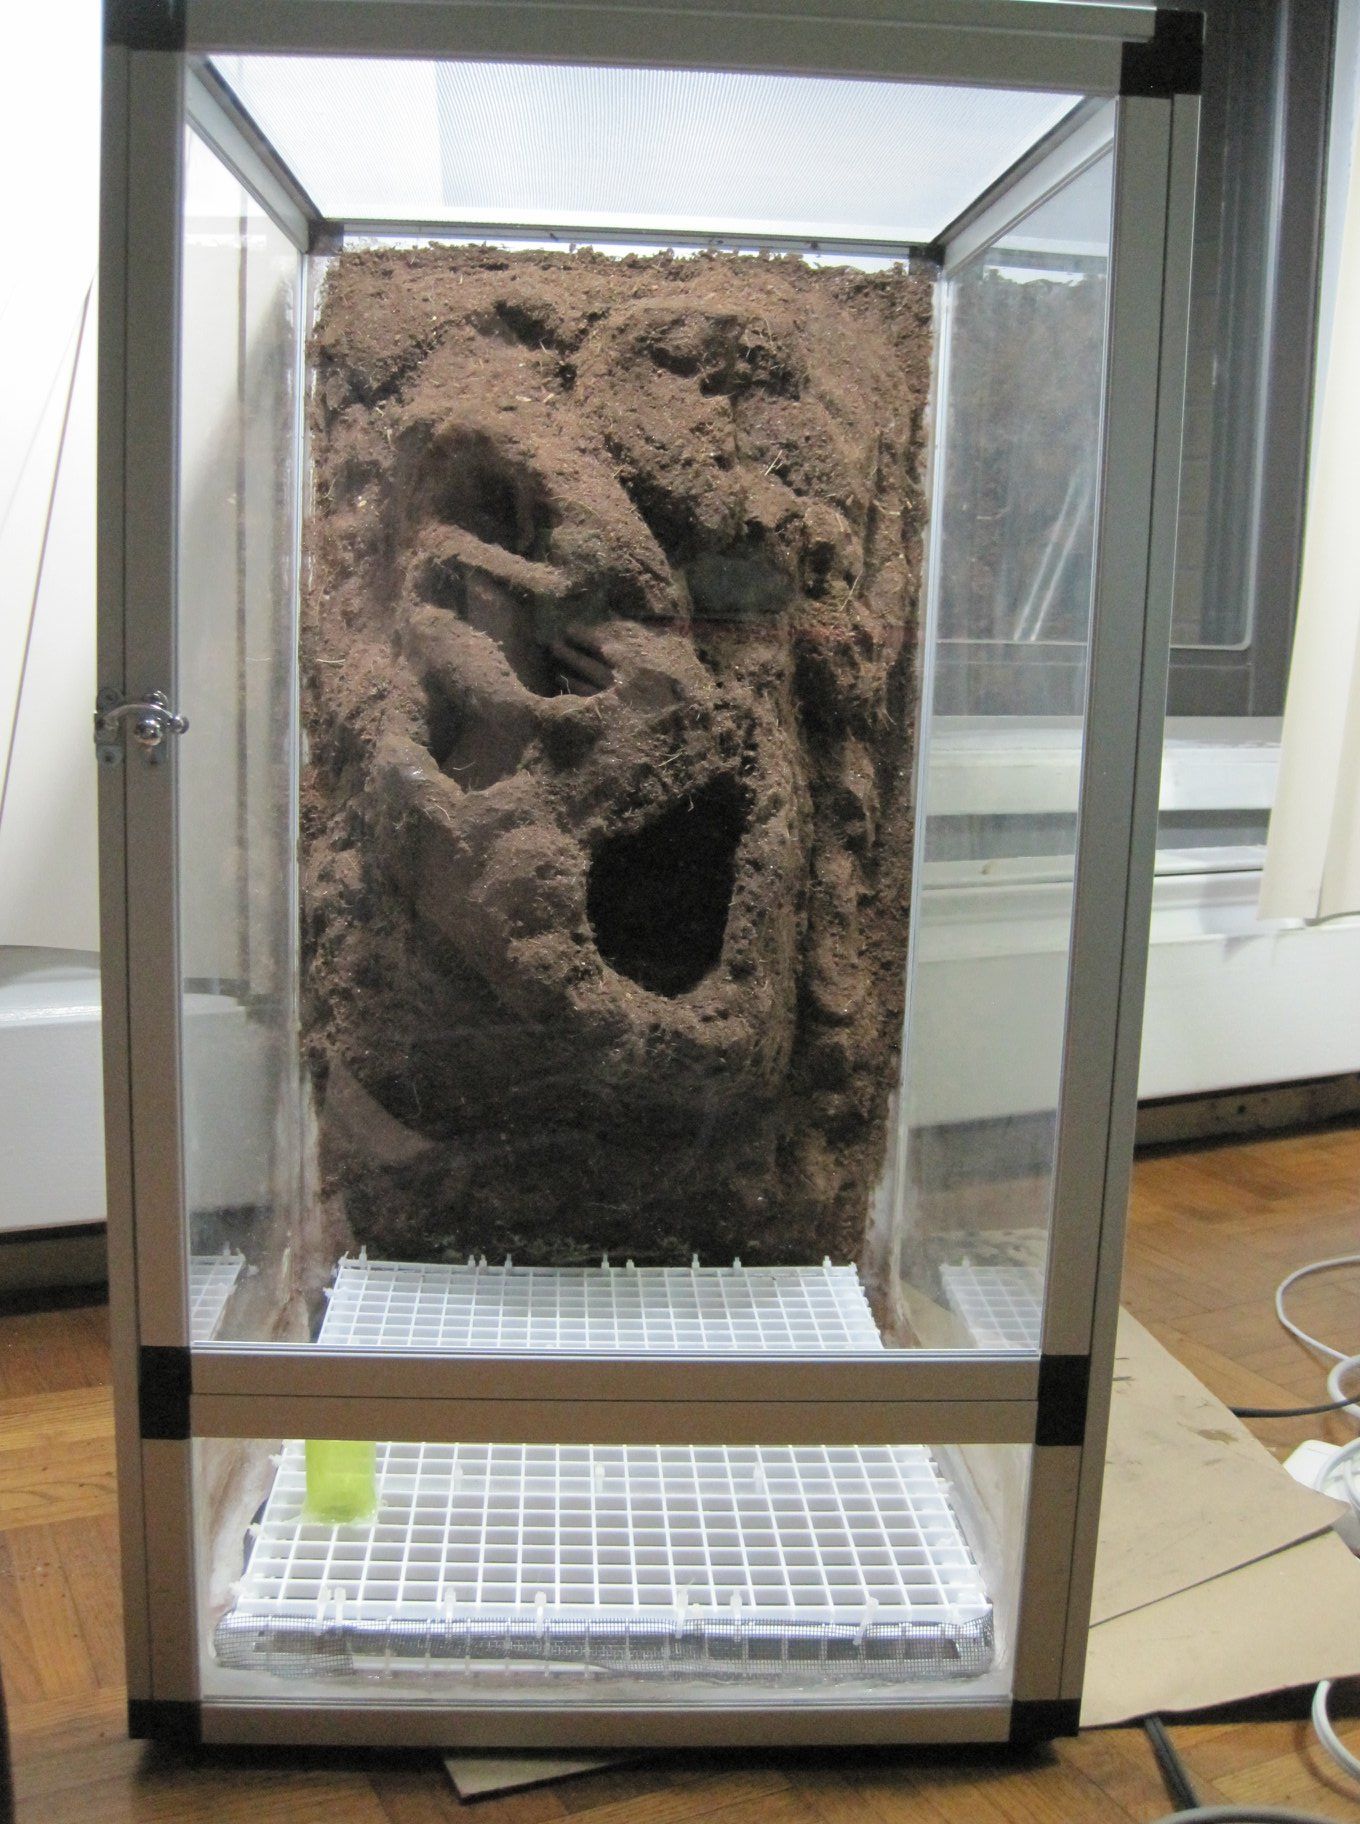
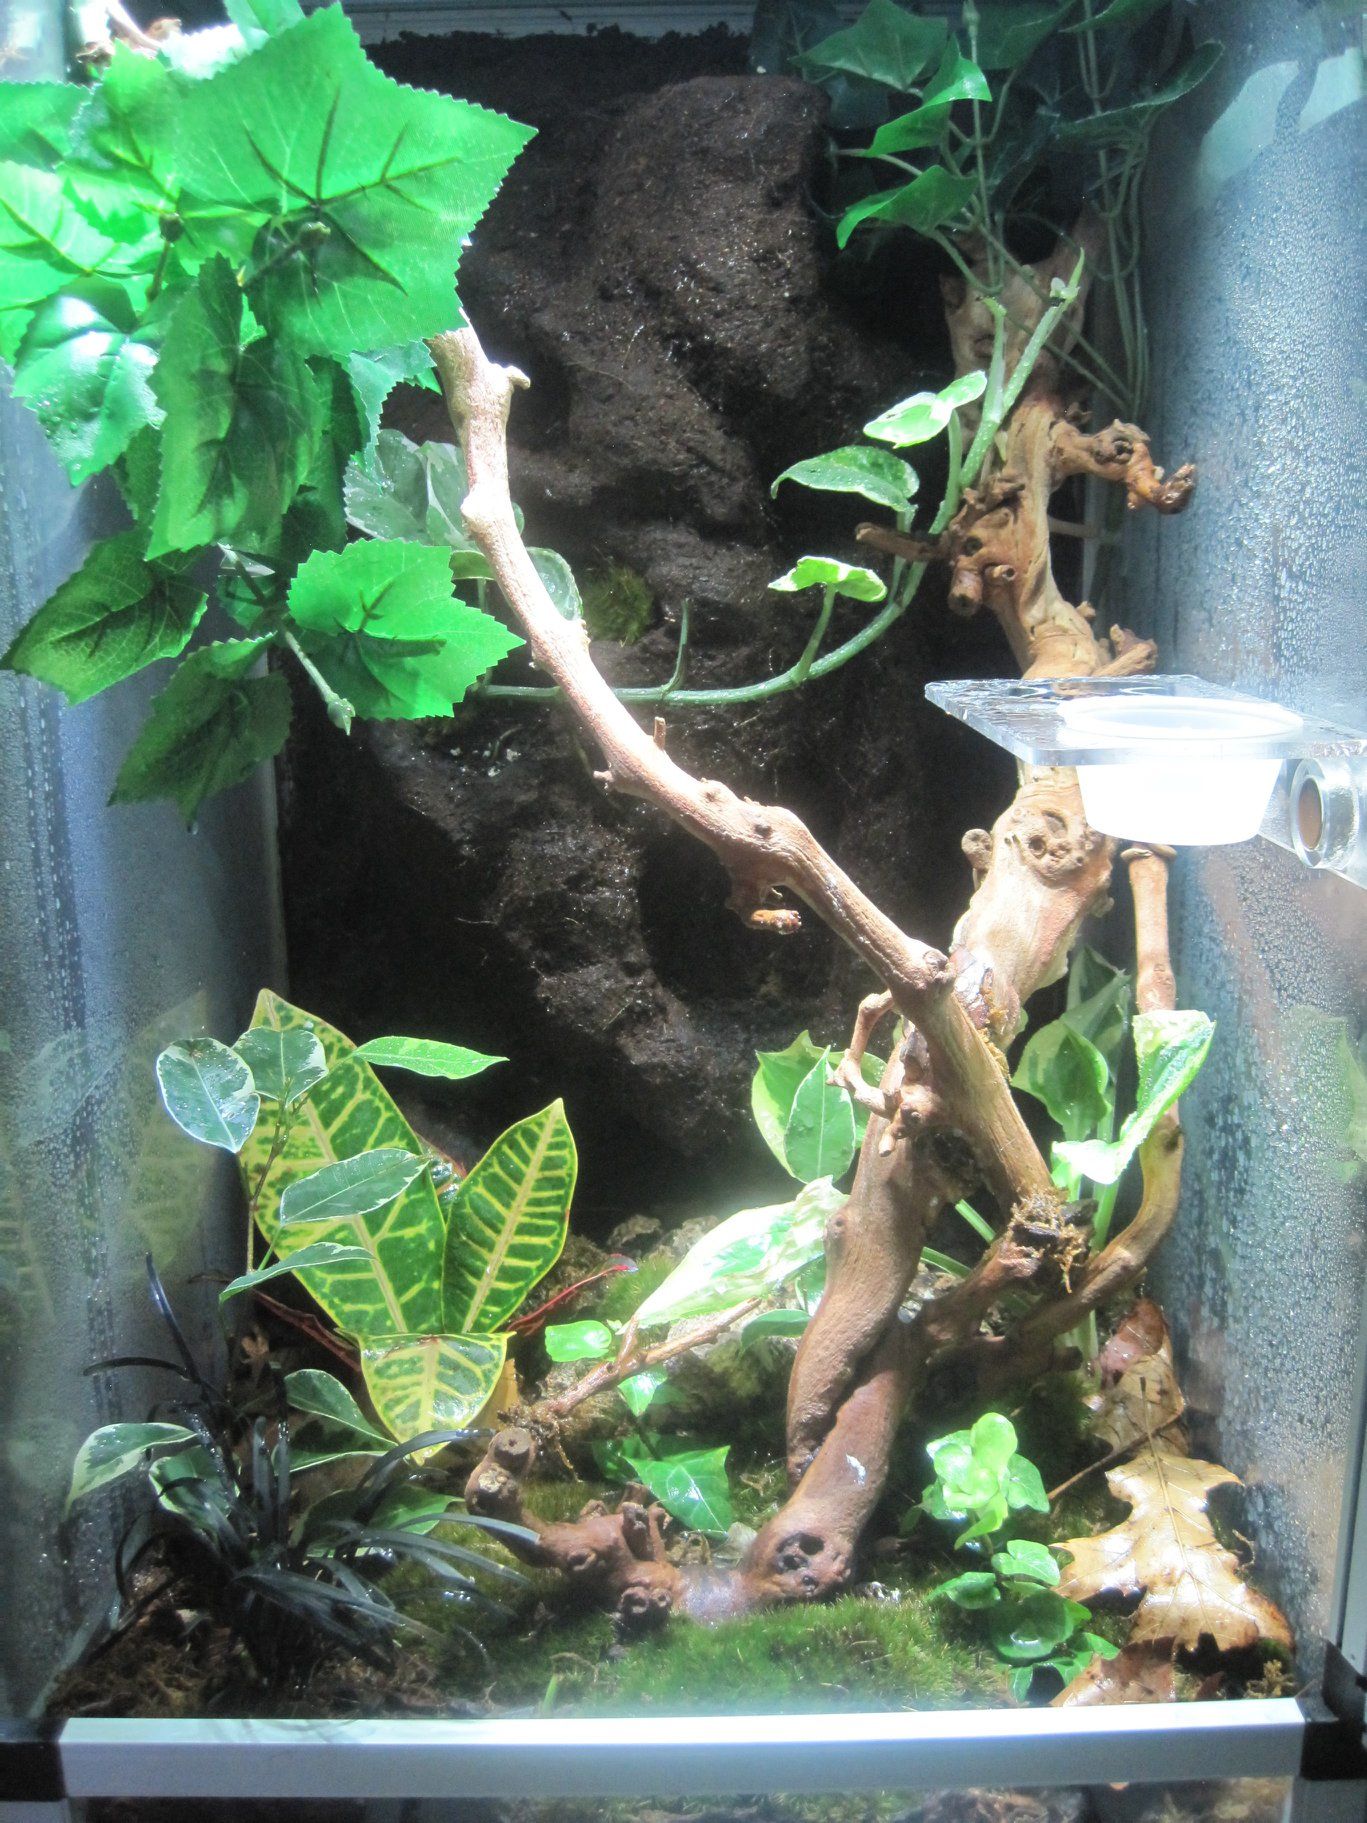
Testing out the LED light and measuring how the terrarium holds humidity.
Misting
I attached a Mist King system and configured it to automatically mist my terrarium several times a day. I also hooked up sensors to monitor both temperature and humidity.
Cleanup Crew (CUC)
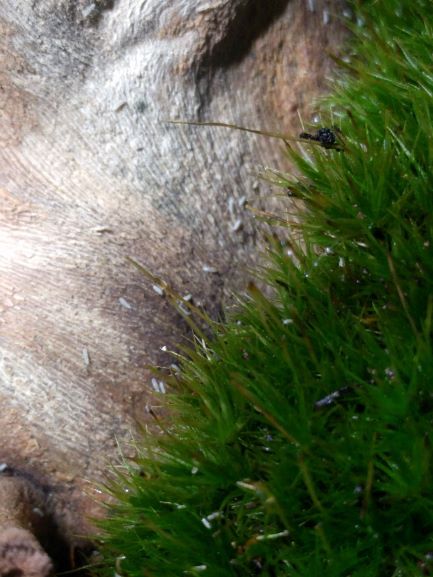
Springtails
I added a generous amount of springtails to the terrarium. They will aid in eating up decaying matter.
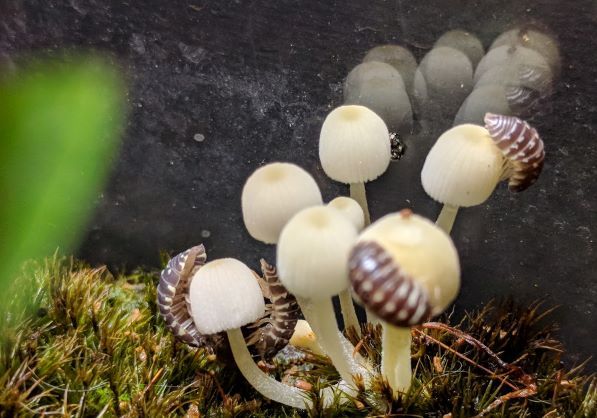
Isopods
The next to go in were some isopods. I picked zebra pill bugs (armadillidium maculatum) because I really like their patterning. Alongside the springtails, they act as my terrarium janitors.
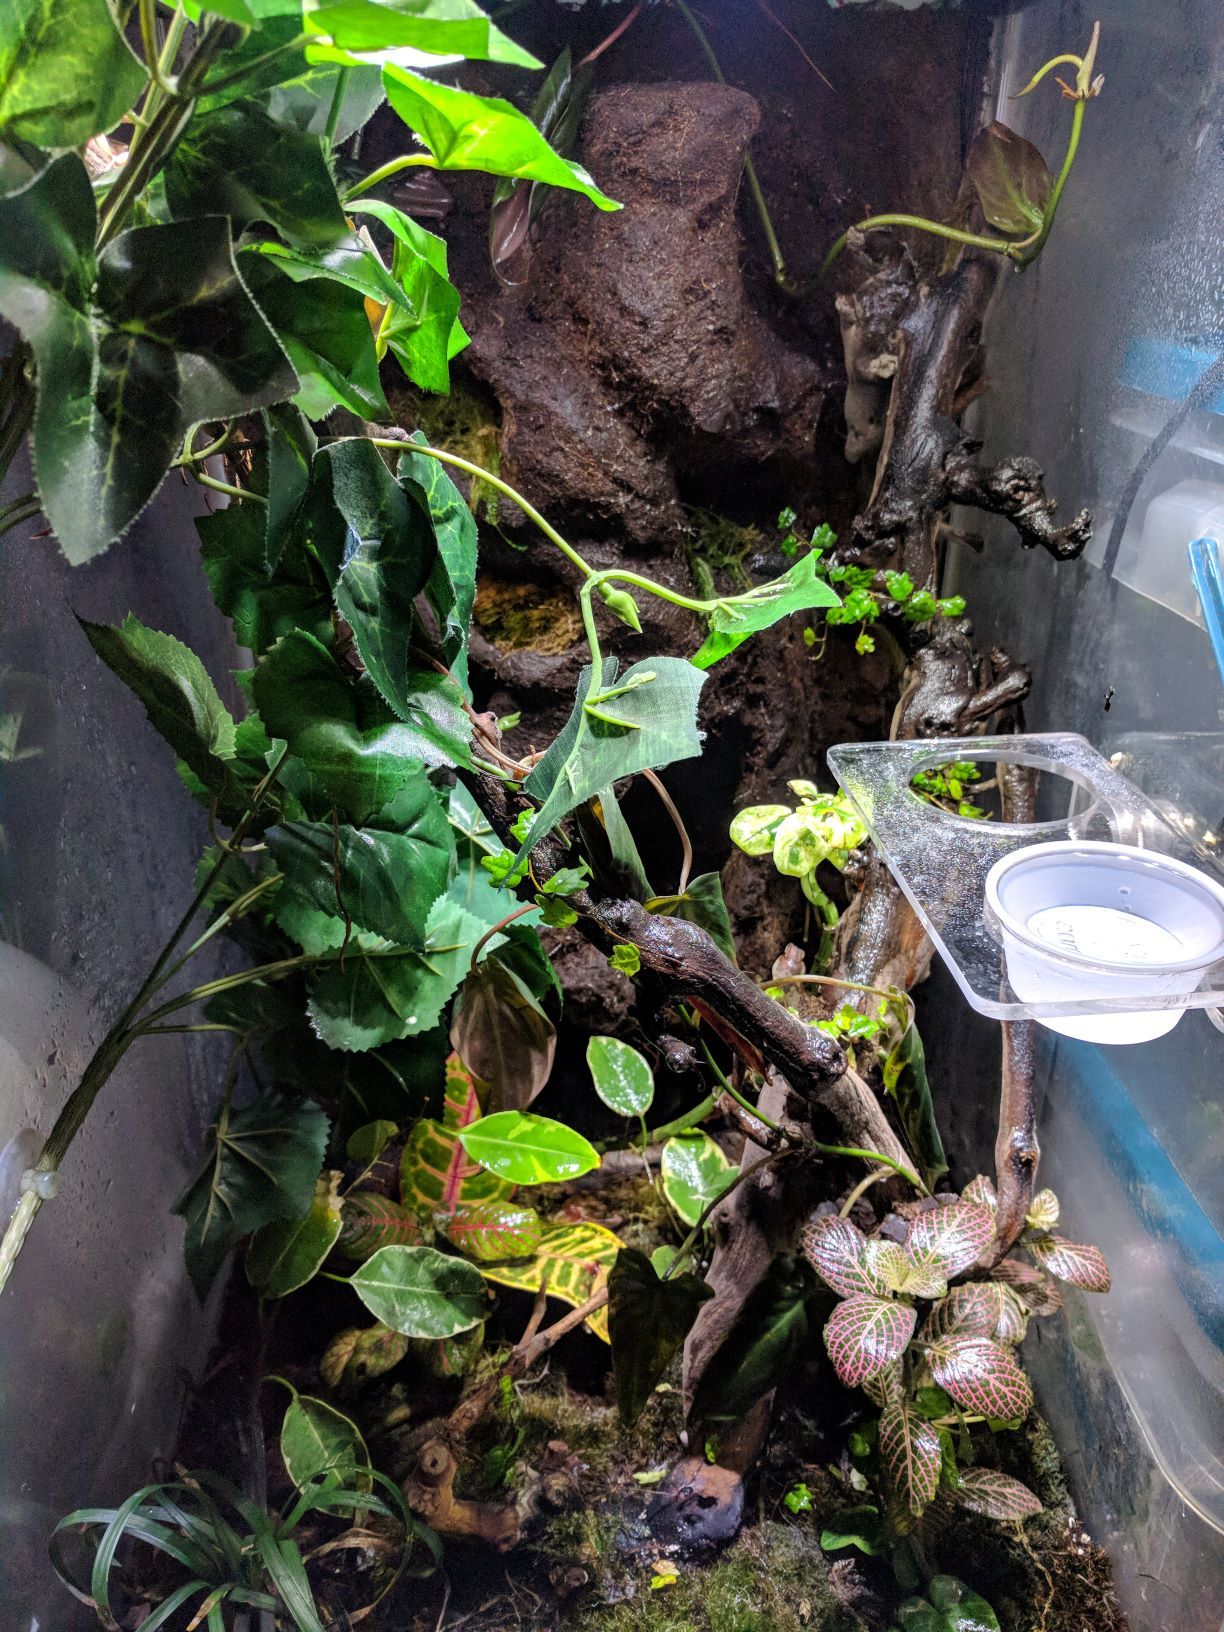
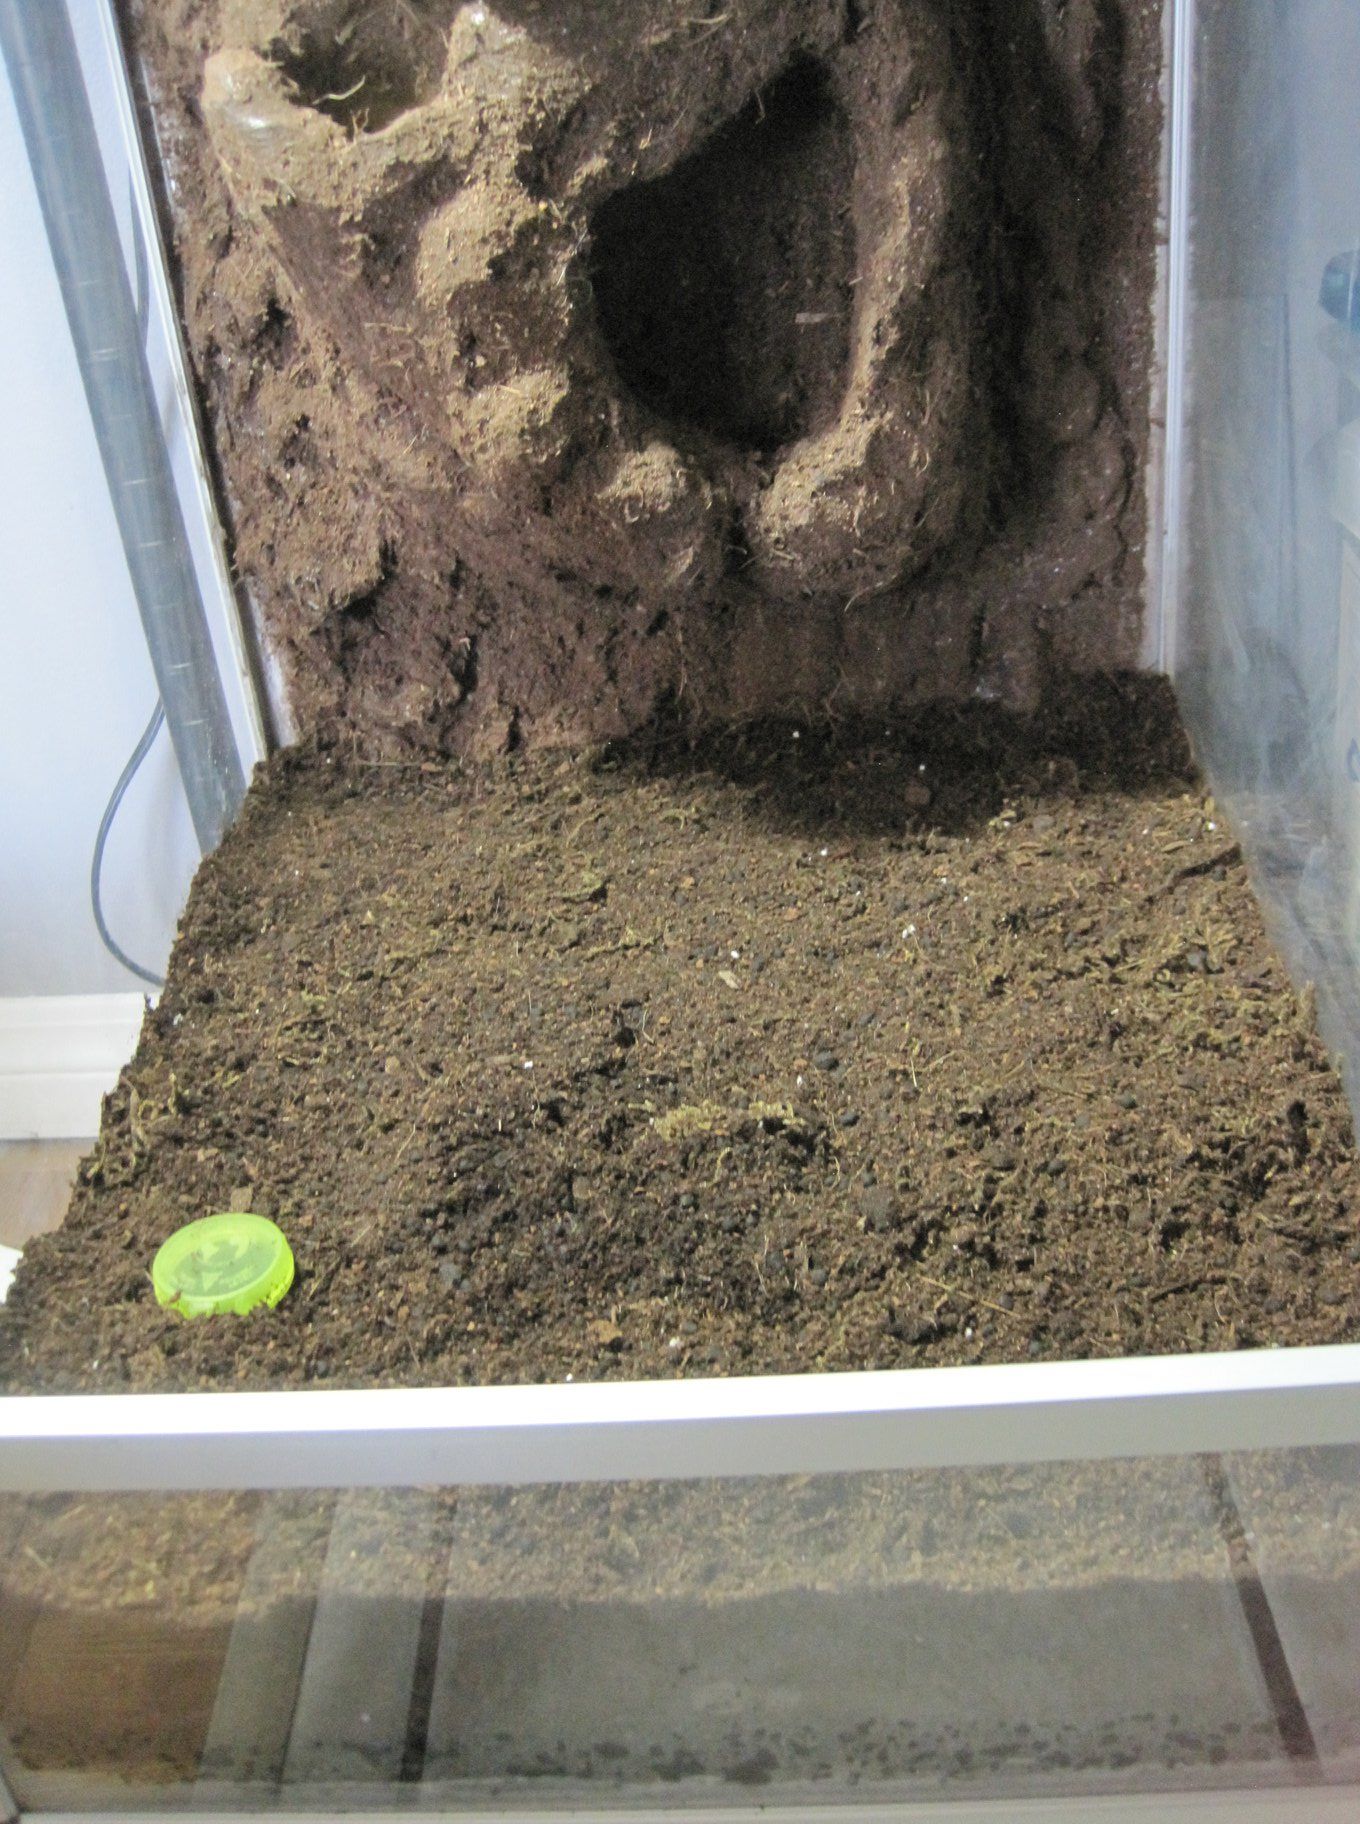
Plant-life
Now the fun part… Planting has been an ongoing process for me as I discover what is able to live in a fairly humid environment with some pretty strong light. I’ve killed many plants, and will likely kill many more. I started off with some pillow moss and grape vine and have expanded from there.
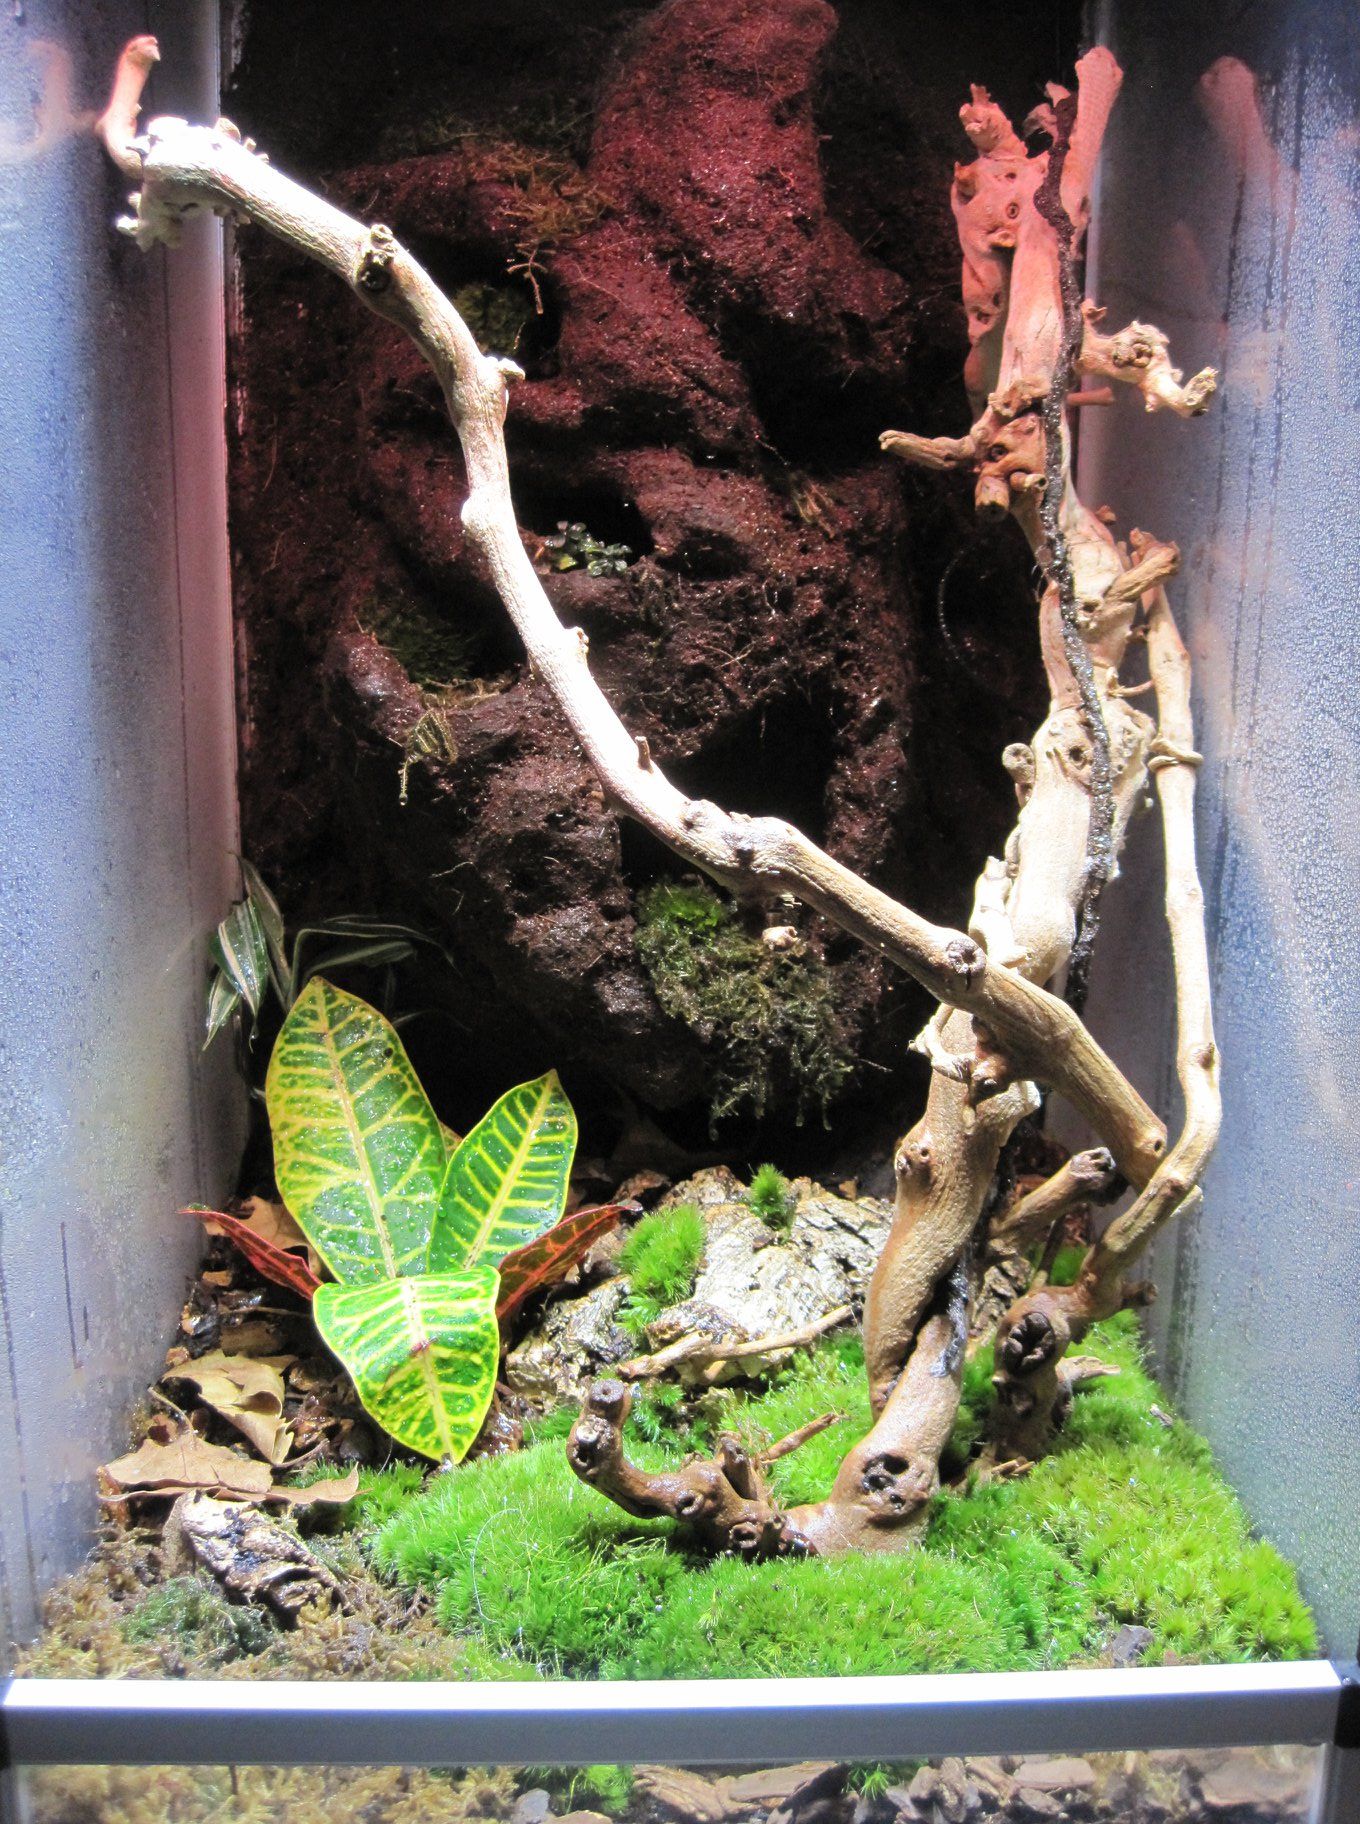

Things are going… okay.